Installed Aozoom FLP 2040 Bi-LED Projectors in my Toyota Fortuner
In this article, I will document the installation of Aozoom FLP 2040 Bi-LED projectors in my Toyota Fortuner to solve the problem of weak headlights.
Introduction
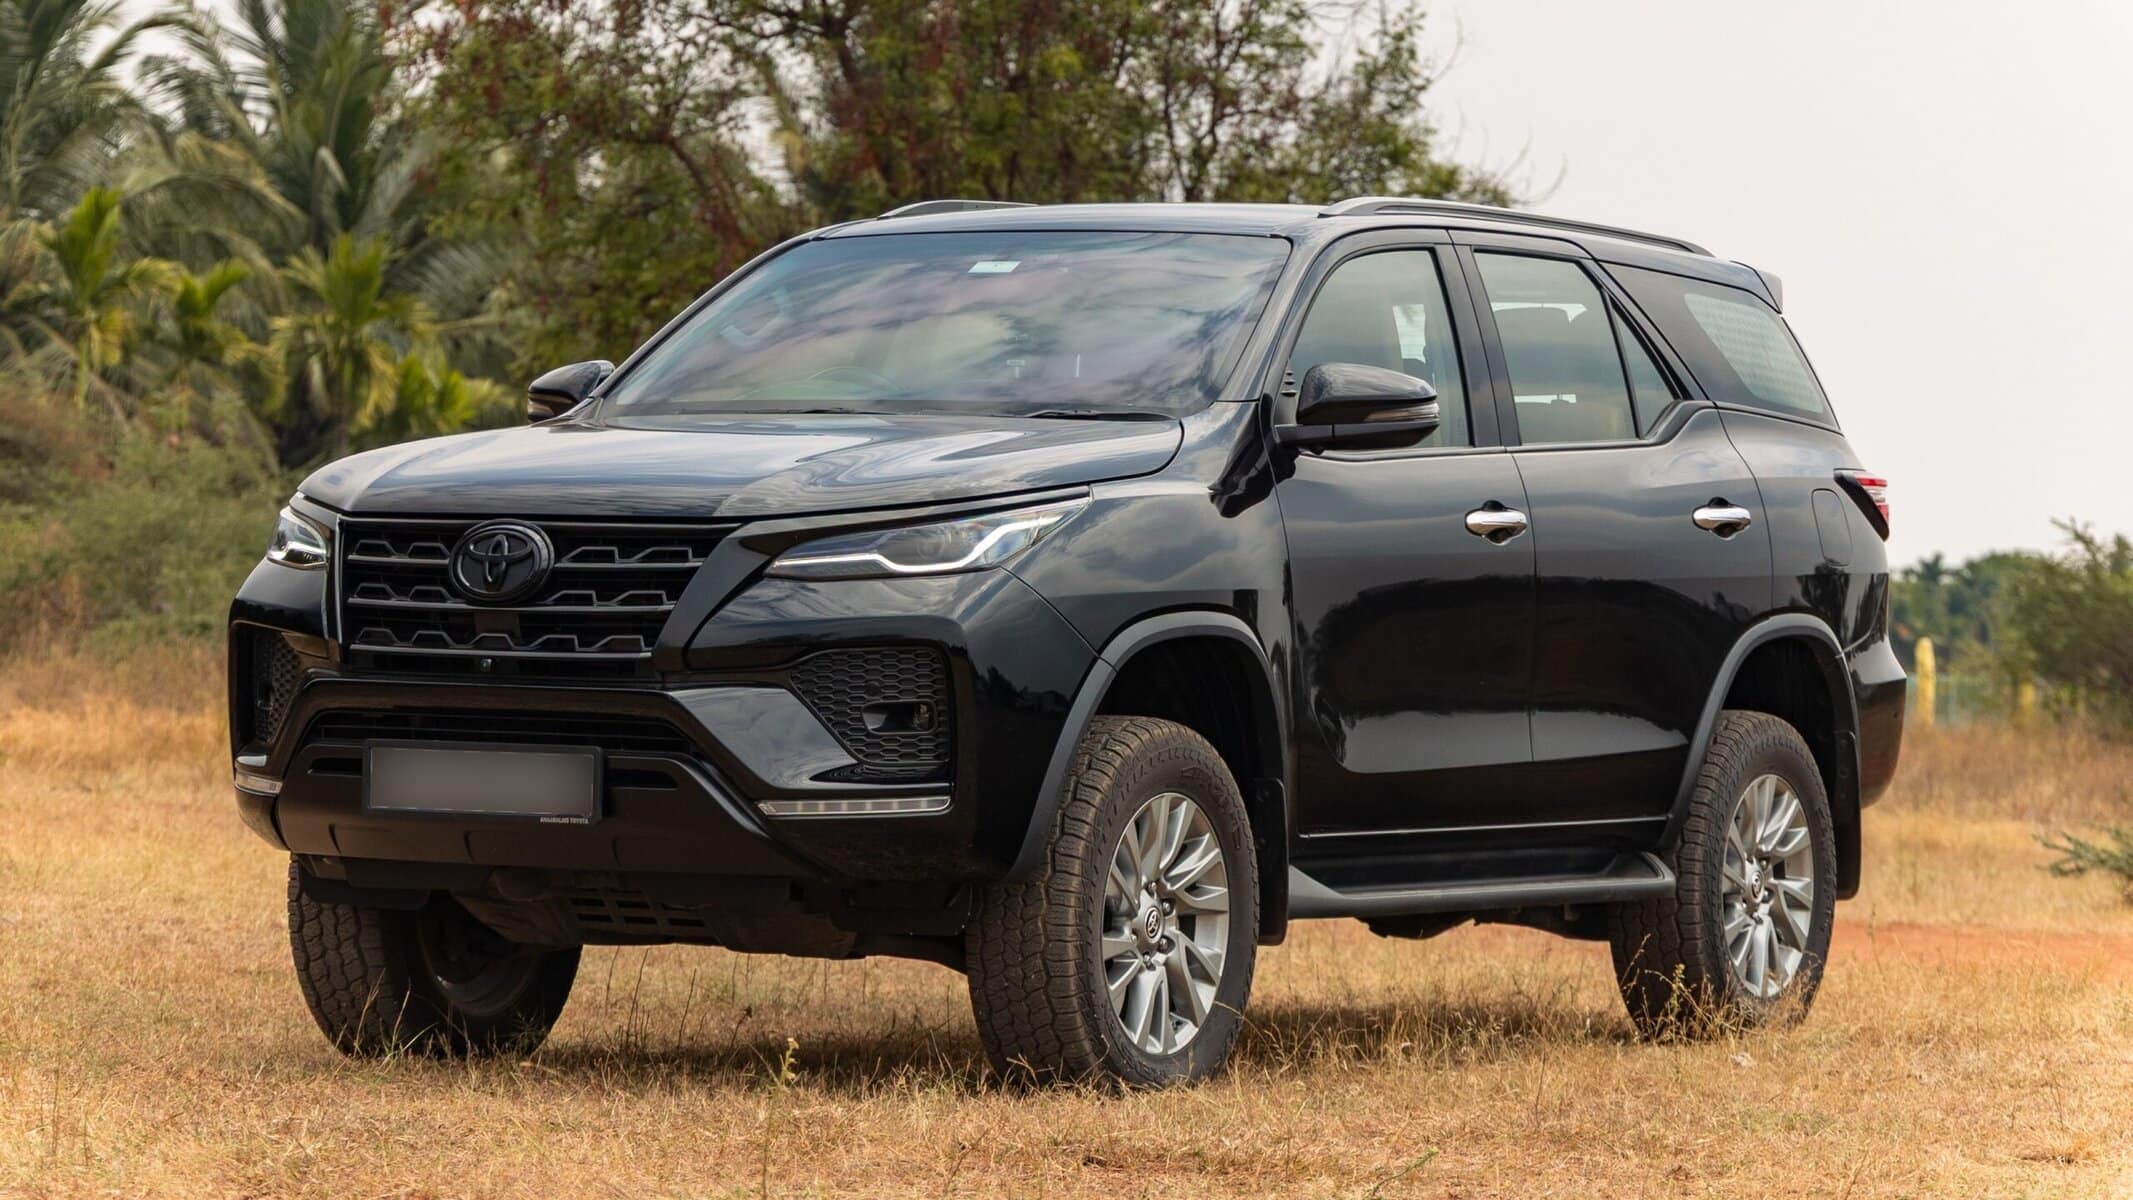
I drive a Toyota Fortuner 4×4 AT. One of the weak points that I identified with the car is its poor headlights. It’s, in fact, horrible. It has very low brightness, and combined with the fact that it is white LED, visibility was very poor when there was opposite traffic with dazzling lights. When it rains, and the road gets wet, visibility becomes zero. There were a couple of drives when I had to drive in the night in the rain with oncoming traffic, and it was very stressful and a safety hazard. In those driving conditions, the headlights felt like candles. So, I decided to upgrade the headlights.
Note: I made this upgrade in January 2025. The FLP2040 was the latest model at that time. The projector model may be updated in due course of time, but the installation details like wiring harnesses will remain the same.
As the Fortuner’s headlights are projector LEDs, there is no option to upgrade the bulbs, which is usually the simplest of the upgrade options. The only way to upgrade the main headlights is by opening them and installing better aftermarket projectors. There are a few problems with this approach. The final results and reliability depend greatly on the workmanship. As the headlights are opened and re-sealed, moisture resistance will be affected. As this is a non-reversible modification, this will affect the warranty. So, I did not want to take this path. But I was ready to take this approach if I could not find any other alternative.
The second option was to add some Aux lights. I found there are lots of good options for Aux lights, like LEDs, lasers, etc, with good performance. However, I did not want to take this path to avoid being flagged by police during my road trips.
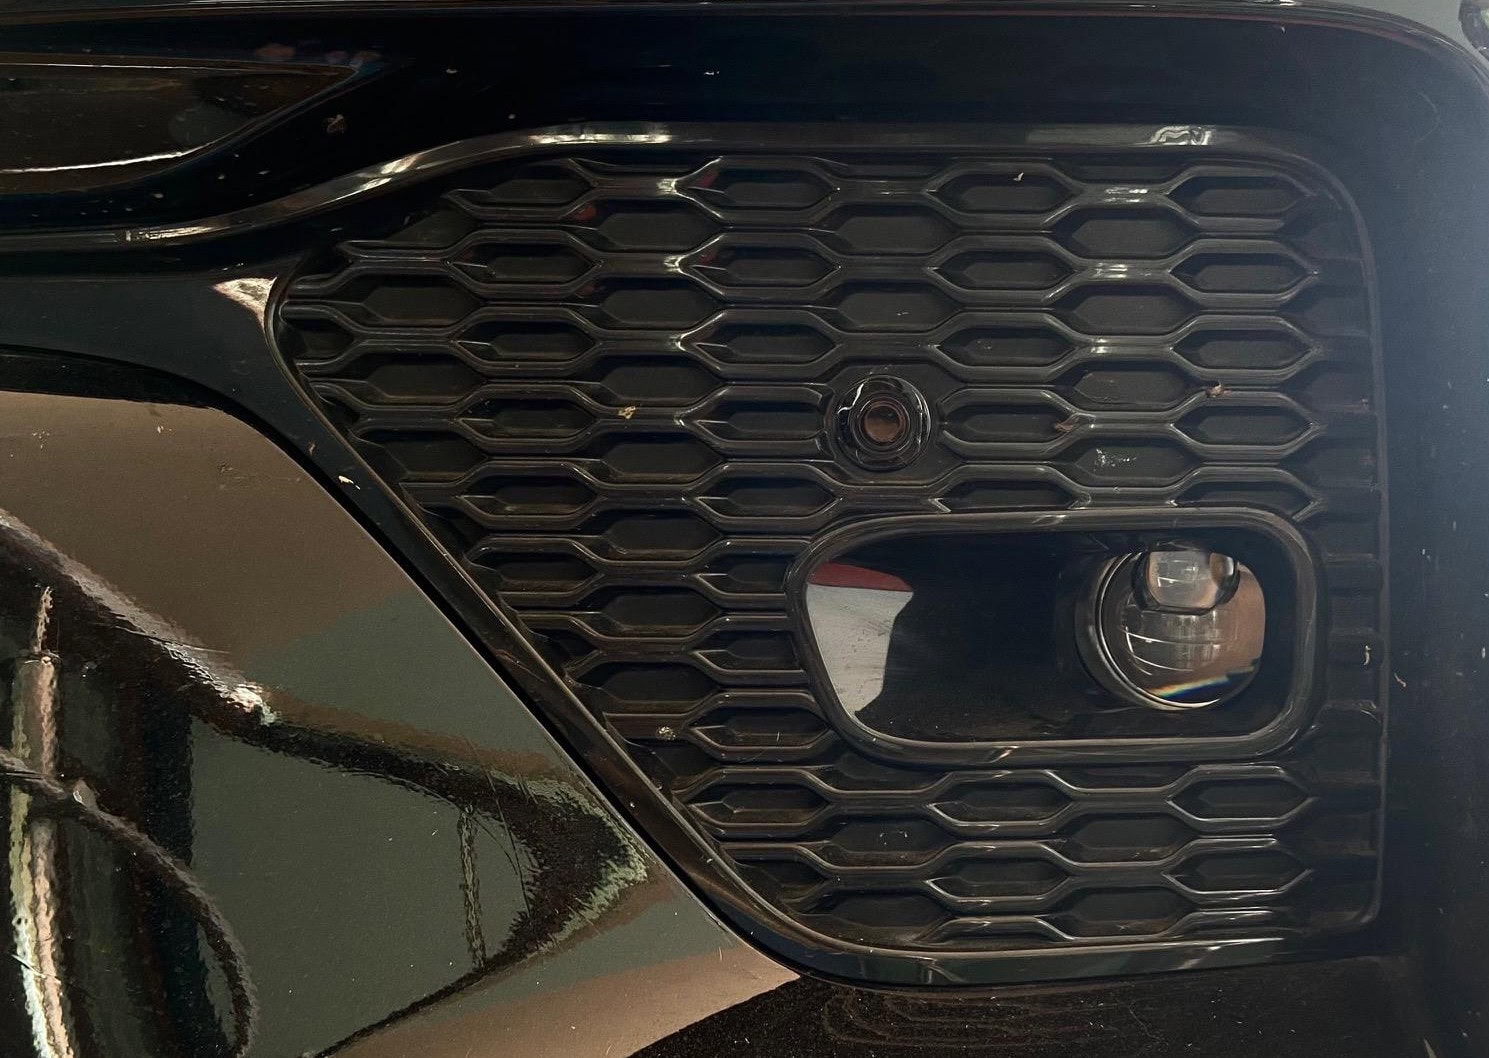
The third option was to replace the existing fog lights with LED projectors. This will be the cleanest solution as the projectors will be in the fog light housing blending in and will not attract any attention. Also, as the fog lights in the Fortuner are at almost the same height as the headlights in a sedan, they will have good light throw. So, I decided to take this path.
Selecting the Projector, and a few problems
In this section, I will cover some of the critical problems related to a projector upgrade and my approach to solving them.
When I started the search for projectors and asked around, the first recommendation I got was for projectors by FE Retrofit. There is a model Nova 2R that has the feature to switch between three color temperatures – pure white, warm white, and yellow. I found several YouTube videos on this projector, and the output looked quite good.
I found a dealer and installer in Coimbatore and paid them a visit. They showed me the projector and gave me a demo by connecting it to a power supply. The light output was quite good, and I liked the warm white option. Warm white provides more visibility compared to pure white in wet conditions. The dealer mentioned this installation is plug-and-play. However, during this visit, I found several problems related to the upgrade, and the installation was not plug-and-play.
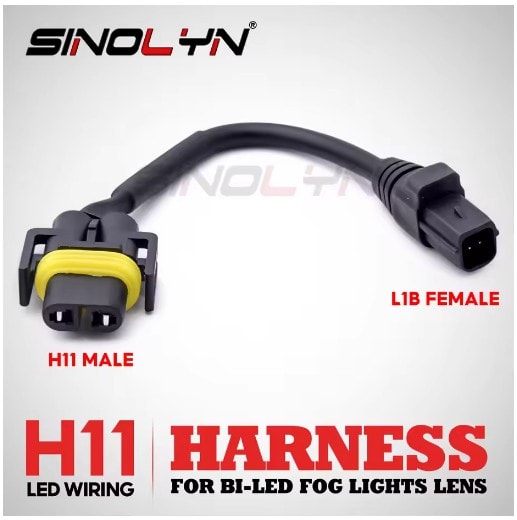
1. The first was the connector in the projector was H11, whereas Toyota uses an L1B connector for their fog lamp. The installer did not have any intermediate wiring harness to convert from L1B to H11 and would splice the wires from the existing wiring harness.
2. The projector does not remember the previous color selection. Every time the car is started, the projector defaults to pure white. The color has to be selected by repeatedly turning on and off the fog lights.
3. The projectors come with a high-beam circuit. For this, too, they splice the wires on the main headlight’s wiring harness to tap the high beam signal.
I also watched several YouTube videos where they use the term “plug-and-play” installation but always splice the wires in the wiring harness. This was a big “No” for me. I don’t like to splice wires in the wiring harness. Usually installers splice the wires and cover with regular insulation tapes which are not rated for the high temperatures that are present inside the engine compartment. Over time, these tapes fall off exposing the connections, which create short circuit hazards. I prefer using proper patching harnesses and splice the connections from these patch harnesses and cover with heat shrinking tube and cotton TESA tapes.
To solve the problems mentioned in points #1 and #3 above, I decided to use a H11 to L1B converter and a headlight patch cable on which I can tap the high beam signal.
I found the below H11 to L1B adapter cable in Aliexpress in the link below:
H11 male to L1B female Adapter
In case the above link becomes unavailable, below is a reference picture of what the connector looks like. Search for H11 male to L1B female adapter cable.
I found the headlight patch cable in the below Australian website.
Toyota Fortuner Headlight Patch Harness
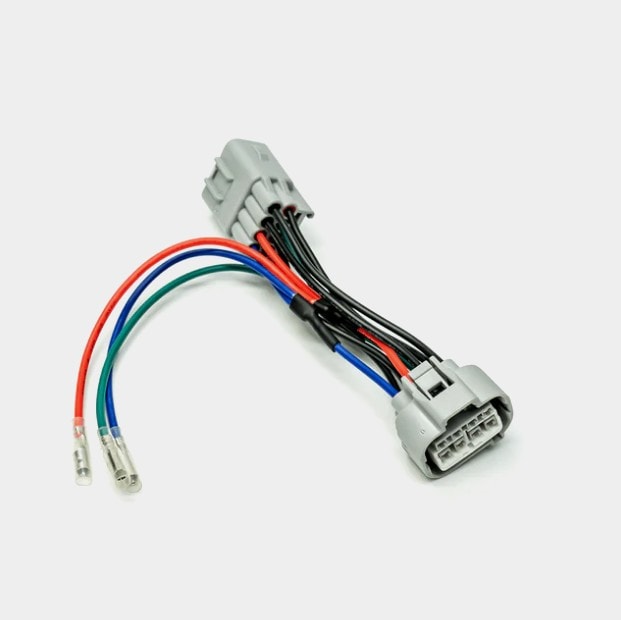
The listed price for the patch cable was 1.7k per cable. If shipping and customs duty are included, the landing price could be north of 3.5K each.
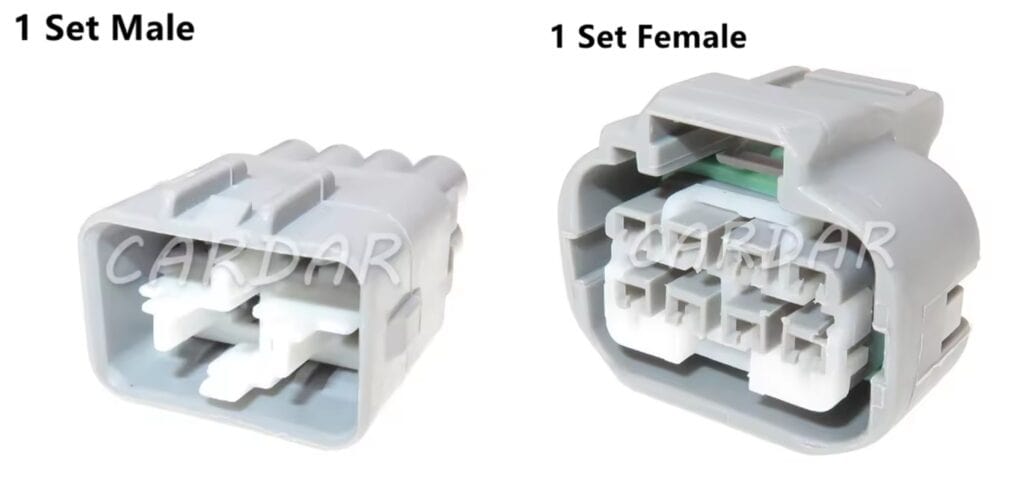
I found another alternate in AliExpress where the male and female connectors were sold separately. With some soldering work, the patch cable can be made at half the price. The link to this connector is given below. In case the link becomes inactive, search for Toyota Headlight connector 7283-1288-40
Headlight Connectors – Male and Female
As AliExpress does not ship to India, I took the help of a friend who was traveling from the US. Had the connectors shipped to the US address, and my friend hand-carried them to me. The whole process took close to 3 months, though.
As I was waiting for the connectors to arrive, I came across another projector brand called Aozoom in the Fortuner official review thread. Several Fortuner owners had installed Aozoom projectors and had given very positive reviews. One advantage I found with Aozoom projectors is that these projectors come with L1B connectors which is a direct match for the Fortuner’s fog lights. This will eliminate the need for the H11 to L1B adapter cable.
Following were various options available from Aozoom.
1. FLP 2030 – 2″ projectors with a single lens and white LEDs.
2. FLP 2033 – 2″ projectors with a single lens and three colors (switchable, like the FE Retrofit Nova 2R)
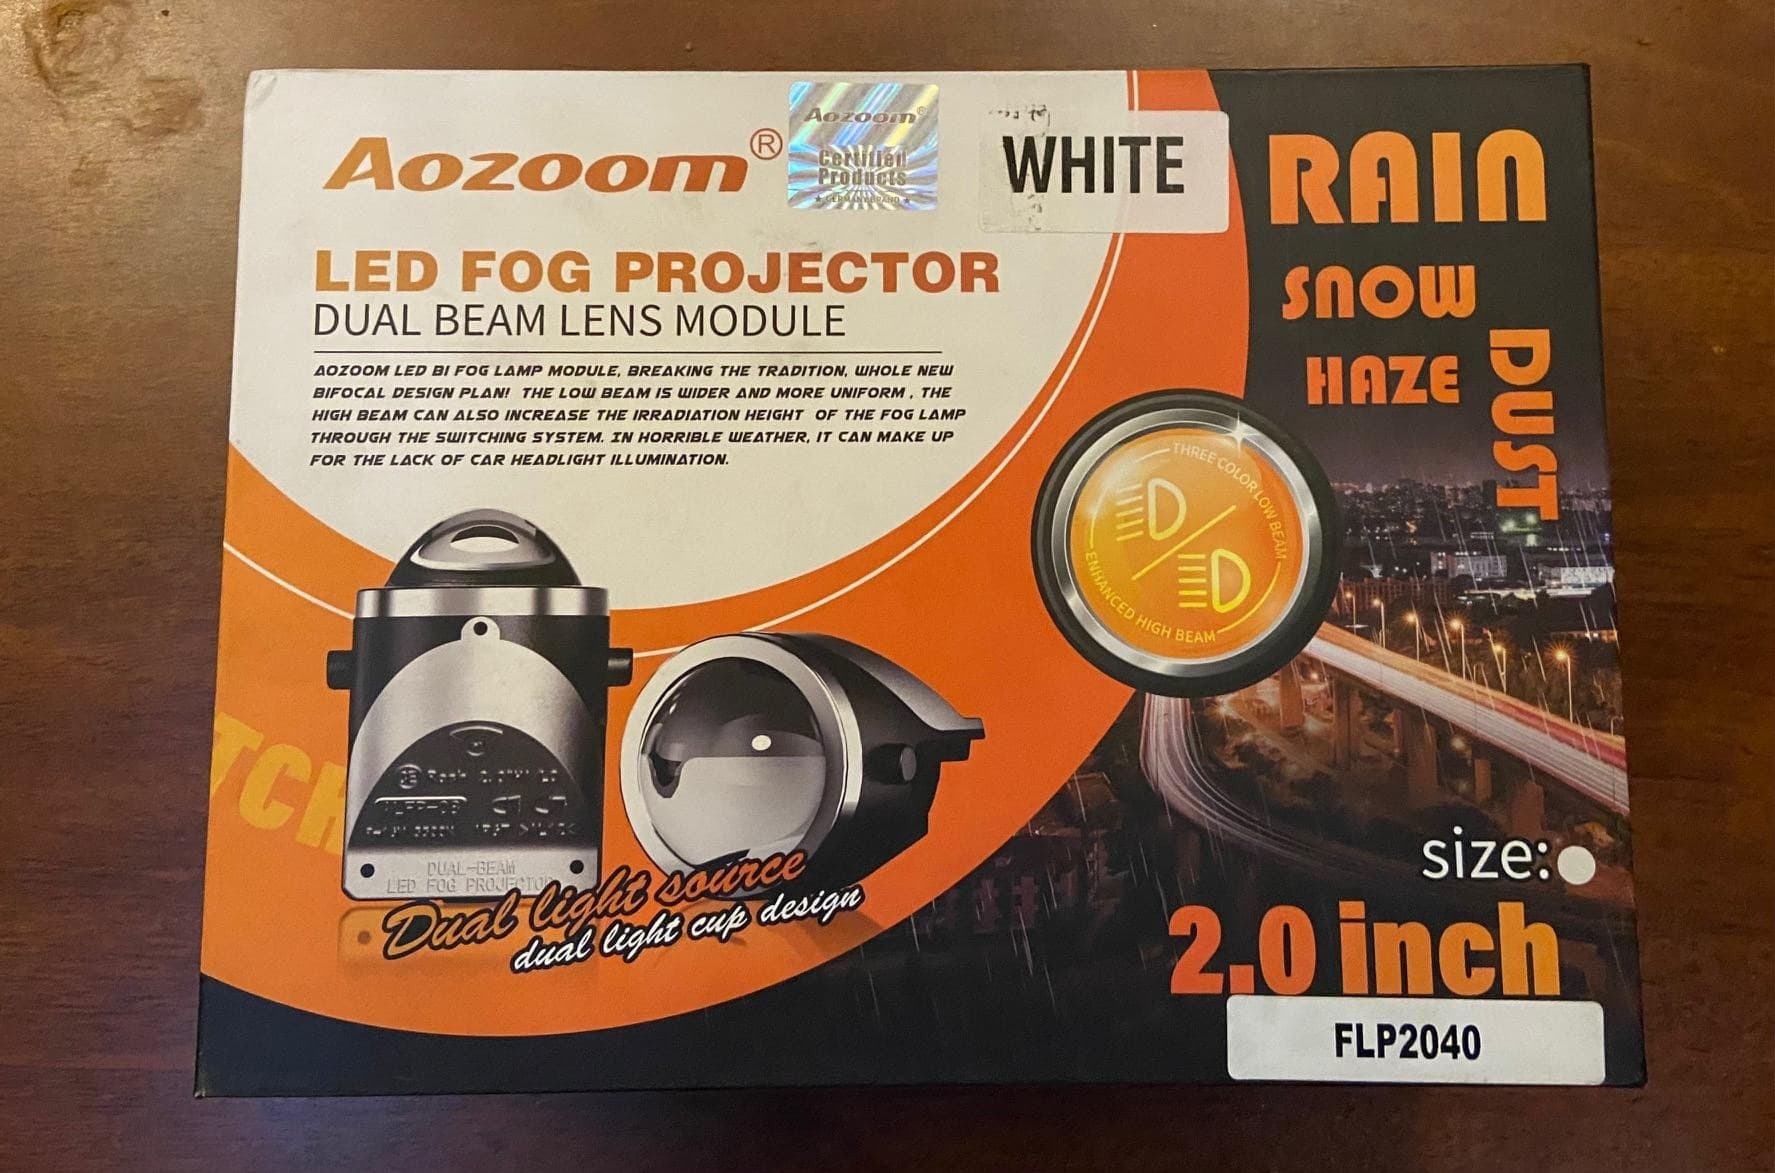
3. FLP 2040 – 2″ projectors with dual lens setup and white LEDs.
All the above projectors come with a high beam, too.
Of the three, 2040 is the latest model (when I installed it in January 2025), and I have read some good reviews about it.
I got the contact number of a local installer from a friend and talked to him. He told me that in FLP2033, he had come across some problems. When the car is started, there is a drop in battery voltage. Sometimes, the projectors detect this as power off and on and randomly change colors. So, I decided to go with FLP2040.
Preparing the Wiring Harness
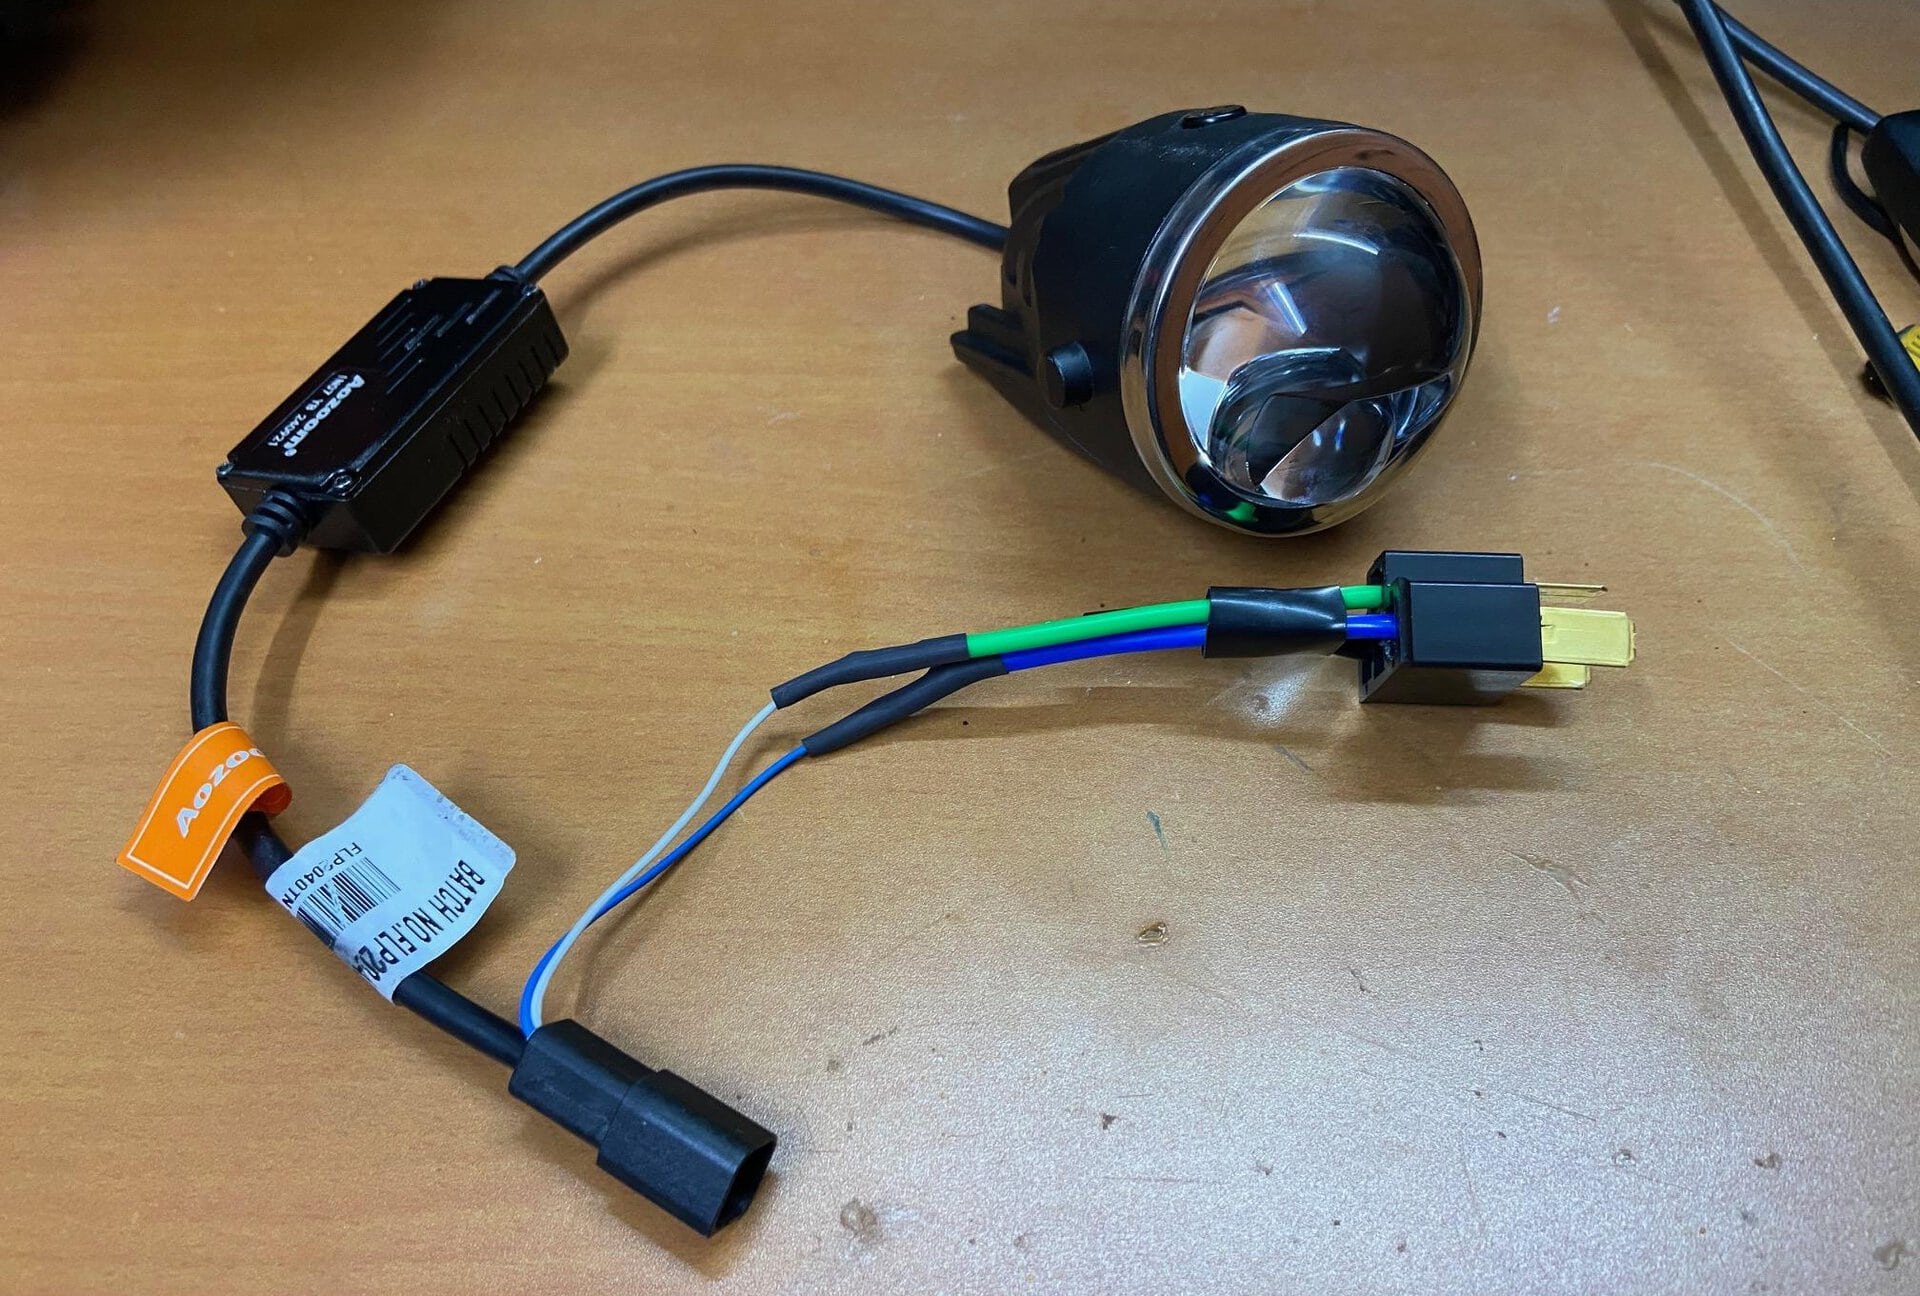
The projector has an L1B connector for the low beam and a couple of open wires to enable the high beam. To make the complete installation plug-and-play, I decided to use an H4 male connector on the projector’s high beam wires and an H4 female connector on the headlight patch cable. I sourced the H4 male and female connectors from Amazon.
I first soldered the wires from the female headlight connector to the pins of the male connector and inserted the pins to the housing to create the patch cable. The below picture shows the patch cable and the male and female H4 connectors.

I then measured the voltage levels on the headlight connector to identify the ground, low beam, and high beam signals. The below picture shows the pin out. As I did this measurement inside my portico, the parking lights turned on instead of DRLs, and I could not confirm which pin drives the DRL. As I was only interested in the ground and high beam pins, I did not bother to find out which pin drives the DRL. Pins 1 and 6 are ground, pin 3 is high beam, and pin 4 is low beam. Pin 2 or 8 could be the DRL signal.

The picture below shows the ground and high beam wires on the patch cable tapped and covered with heat-shrinking sleeves.

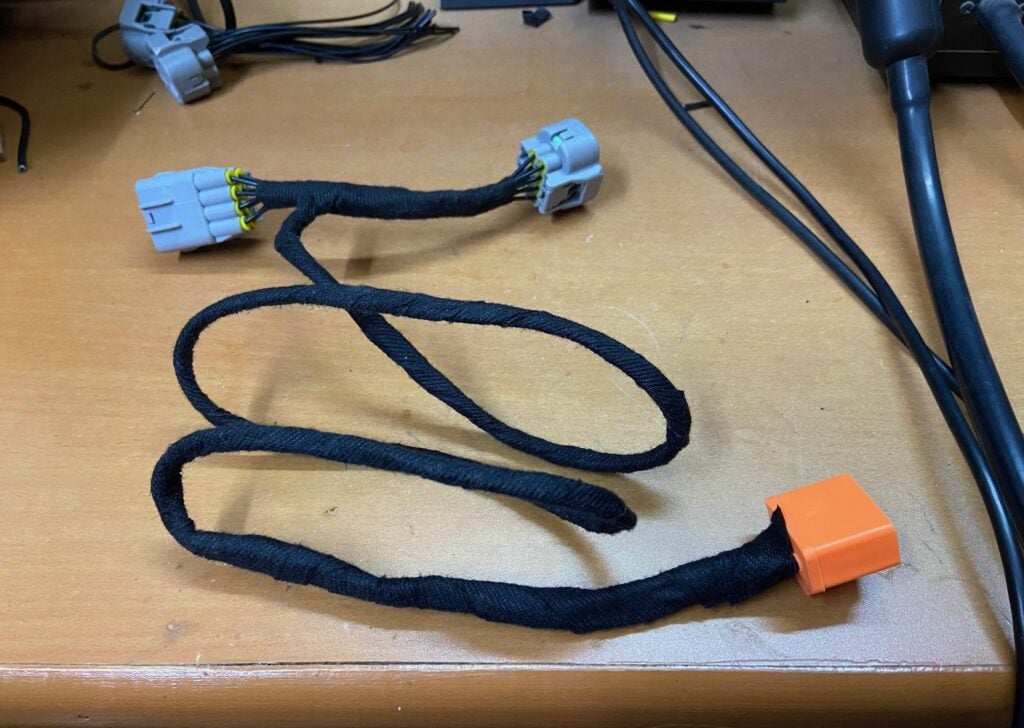
The below picture shows the completed harness with a female H4 connector at the end and the wires wrapped with TESA tape.
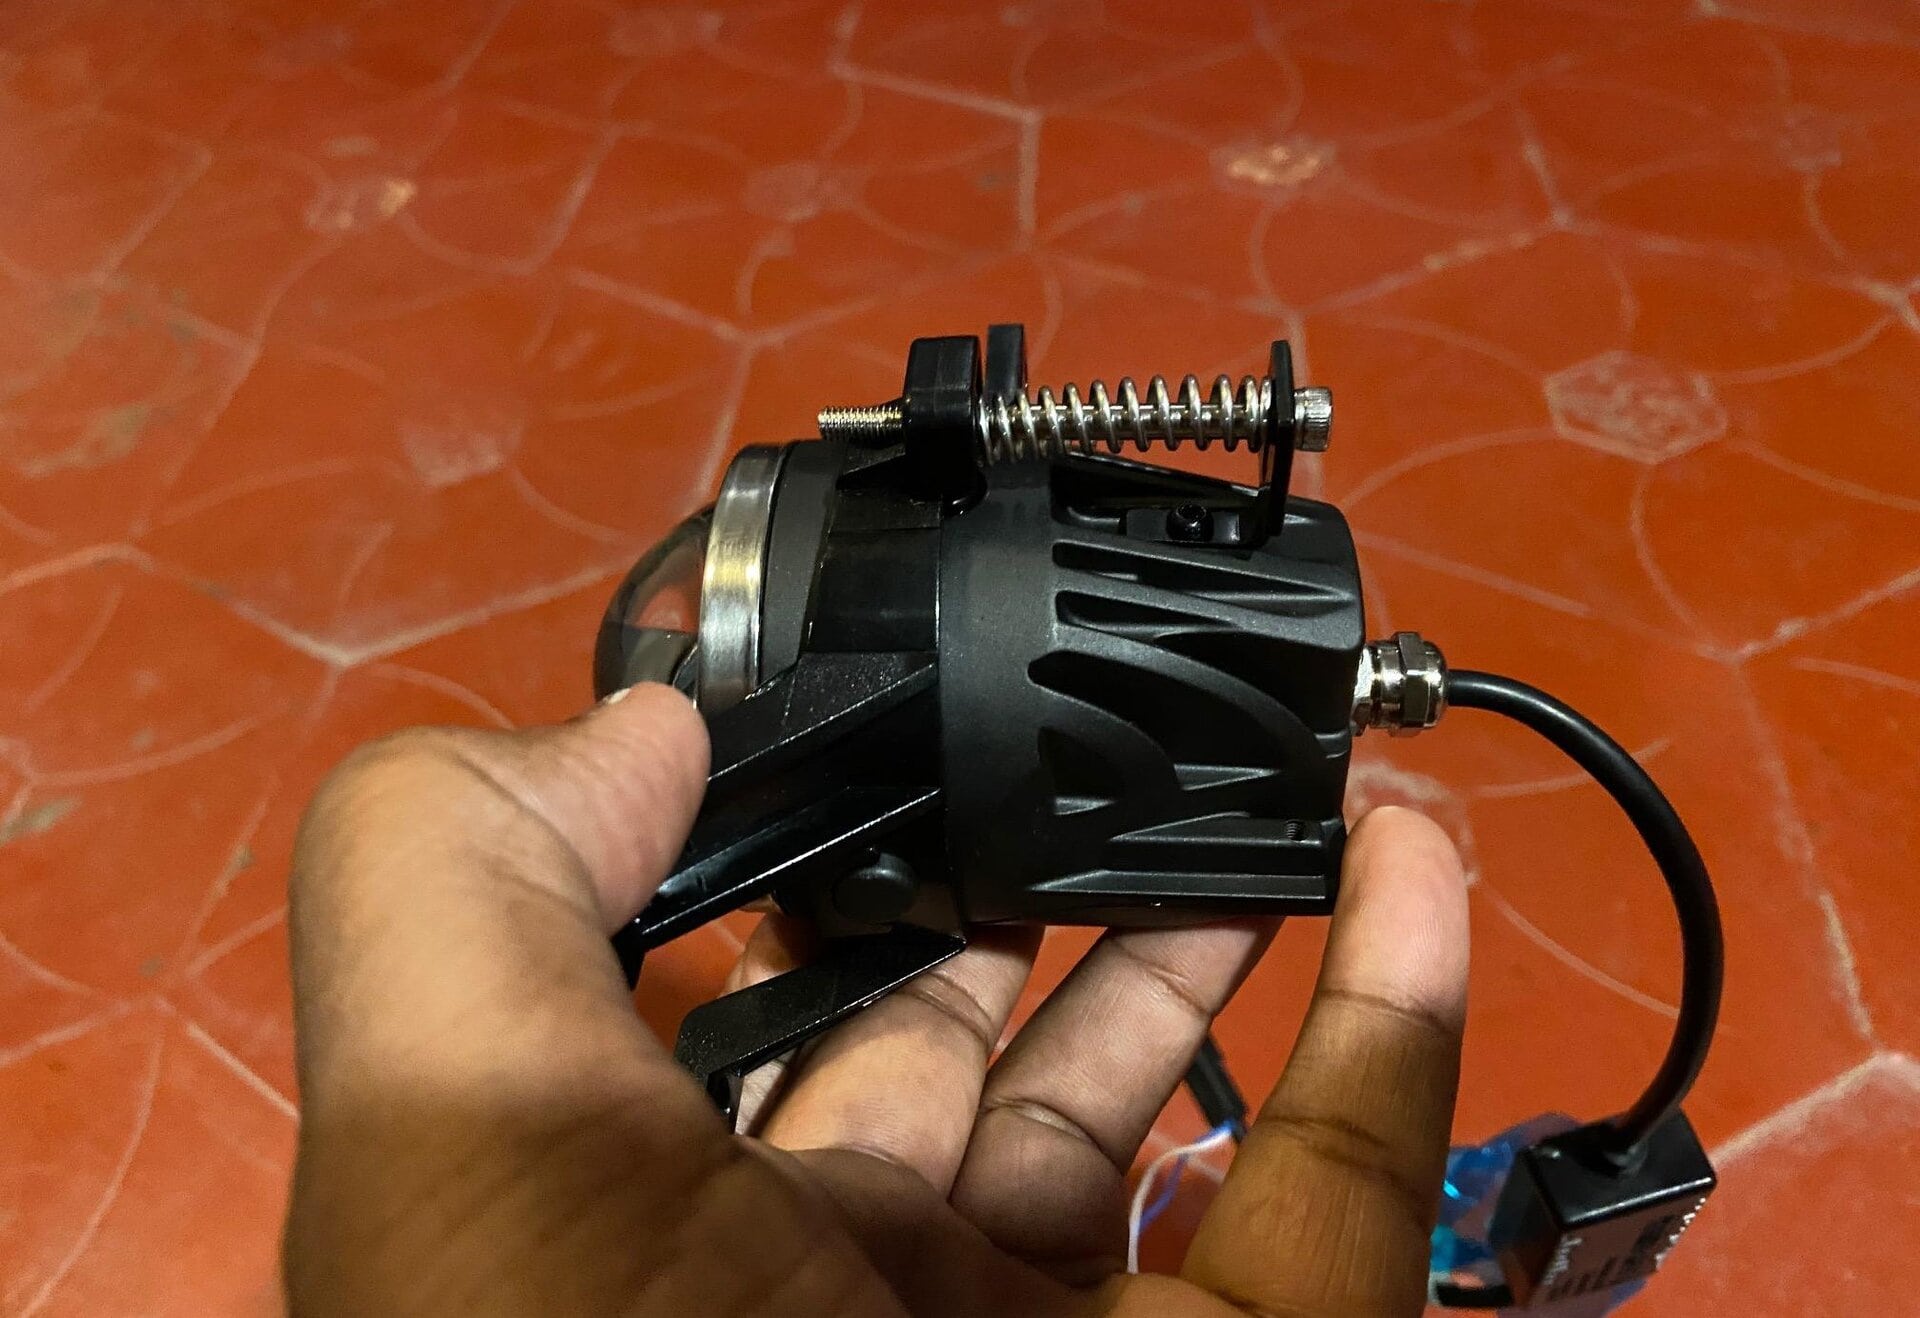
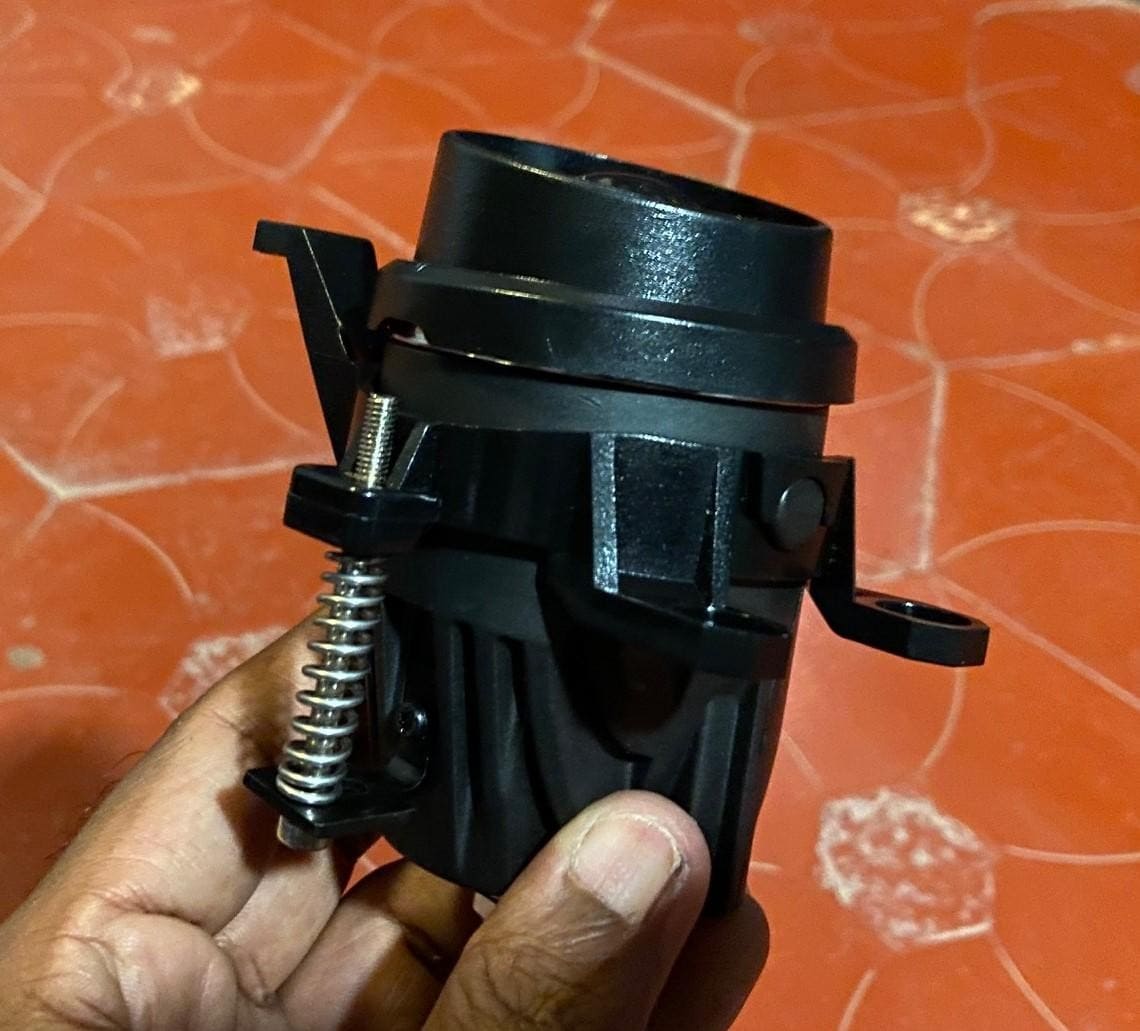
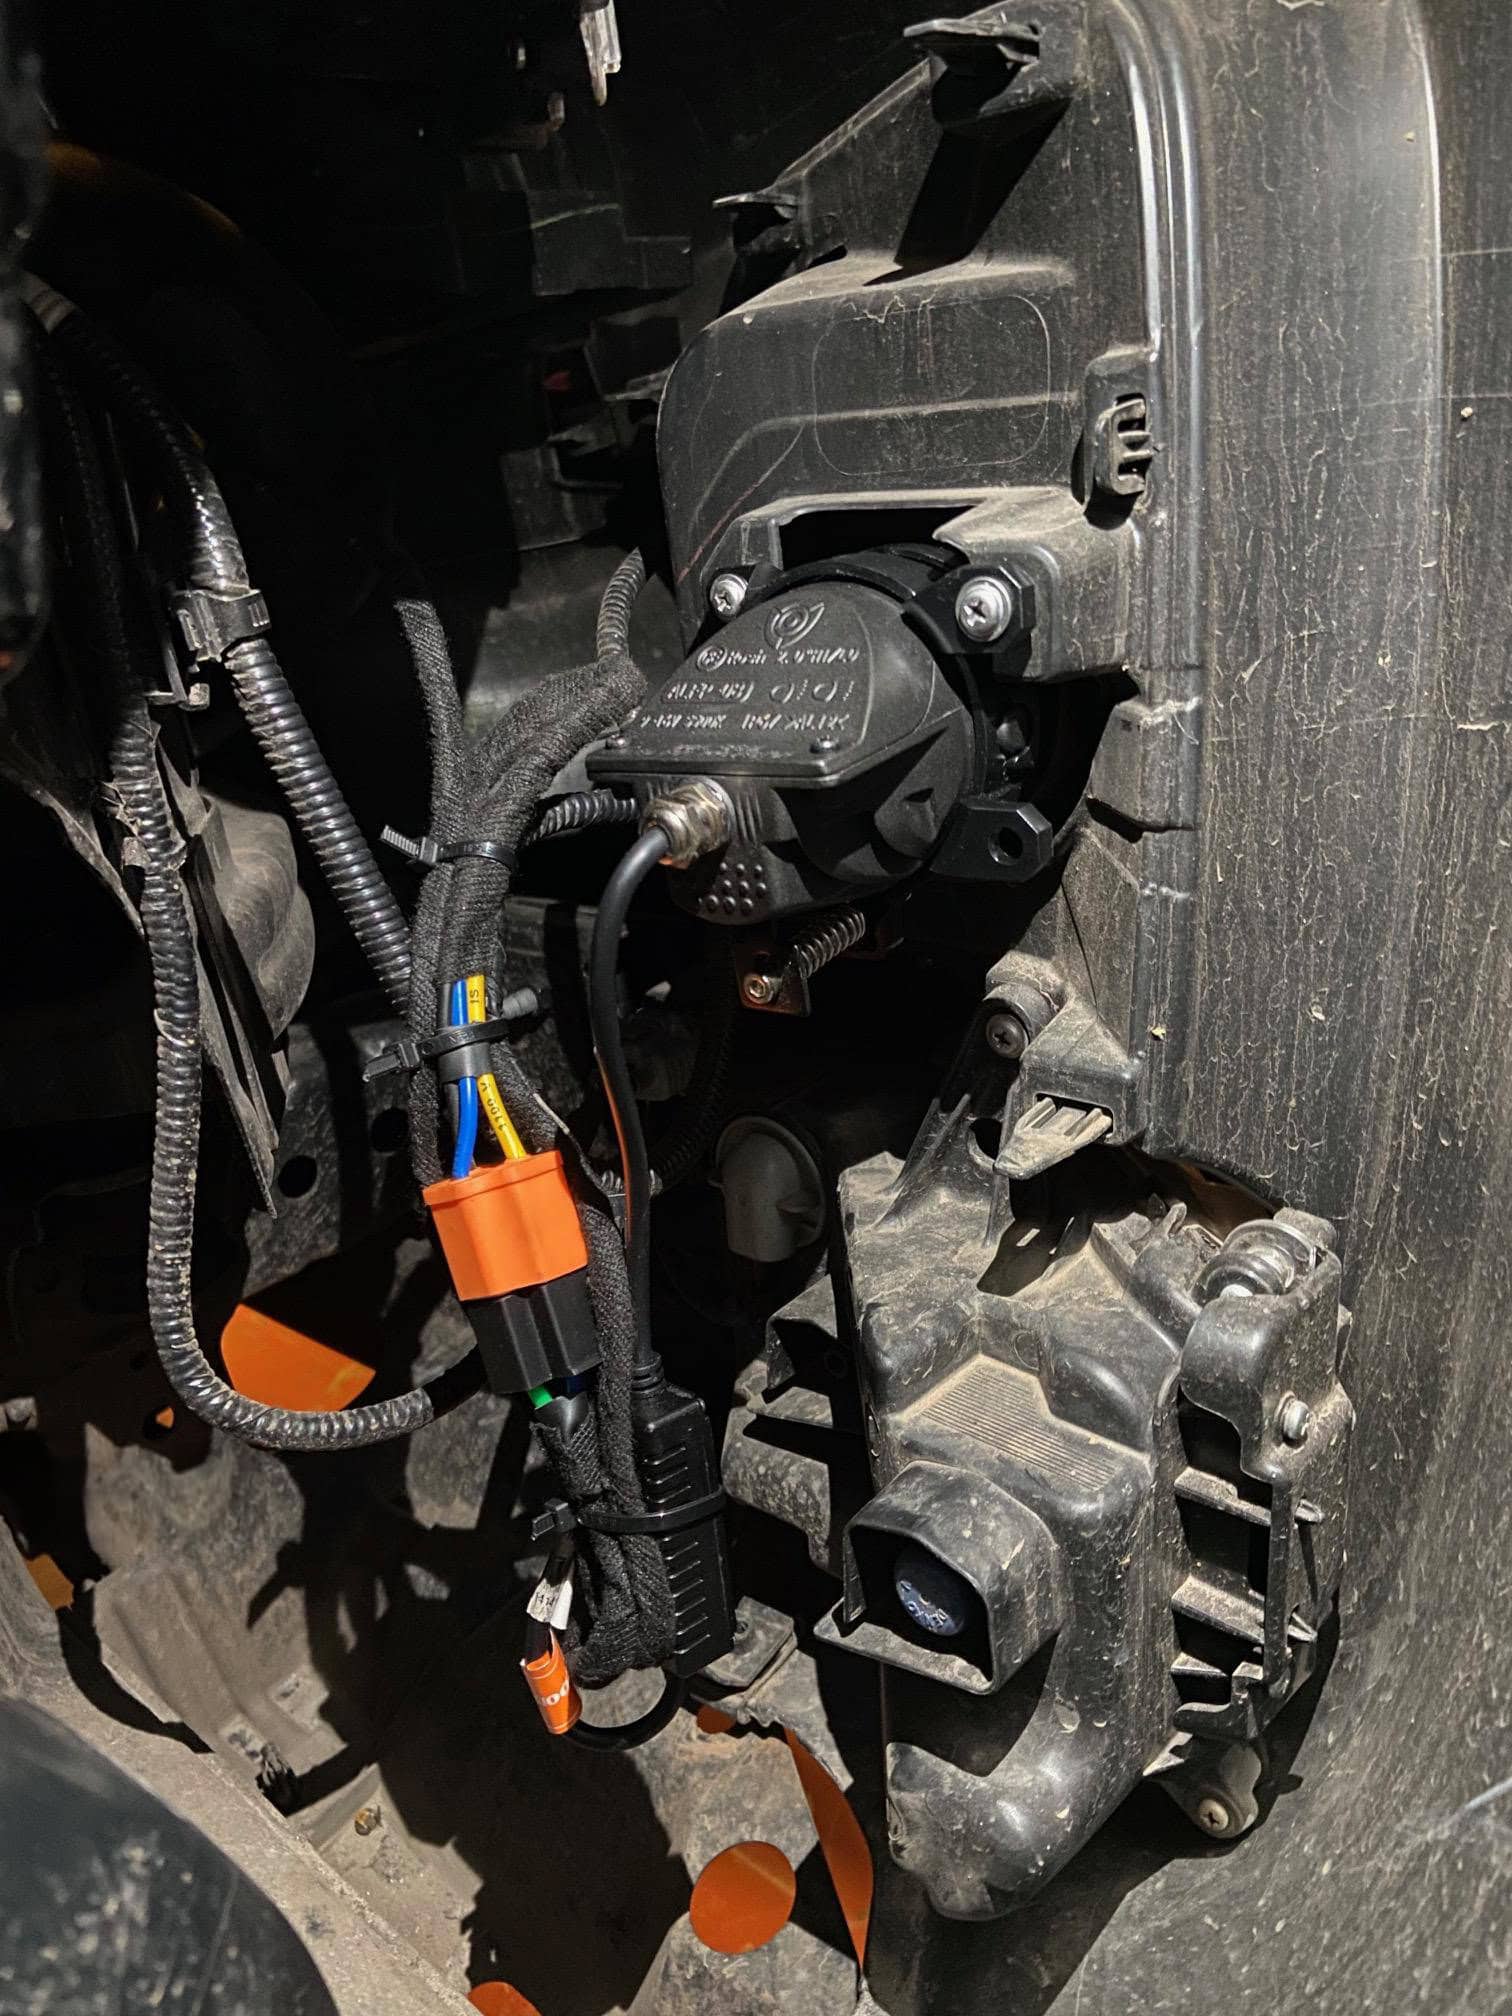
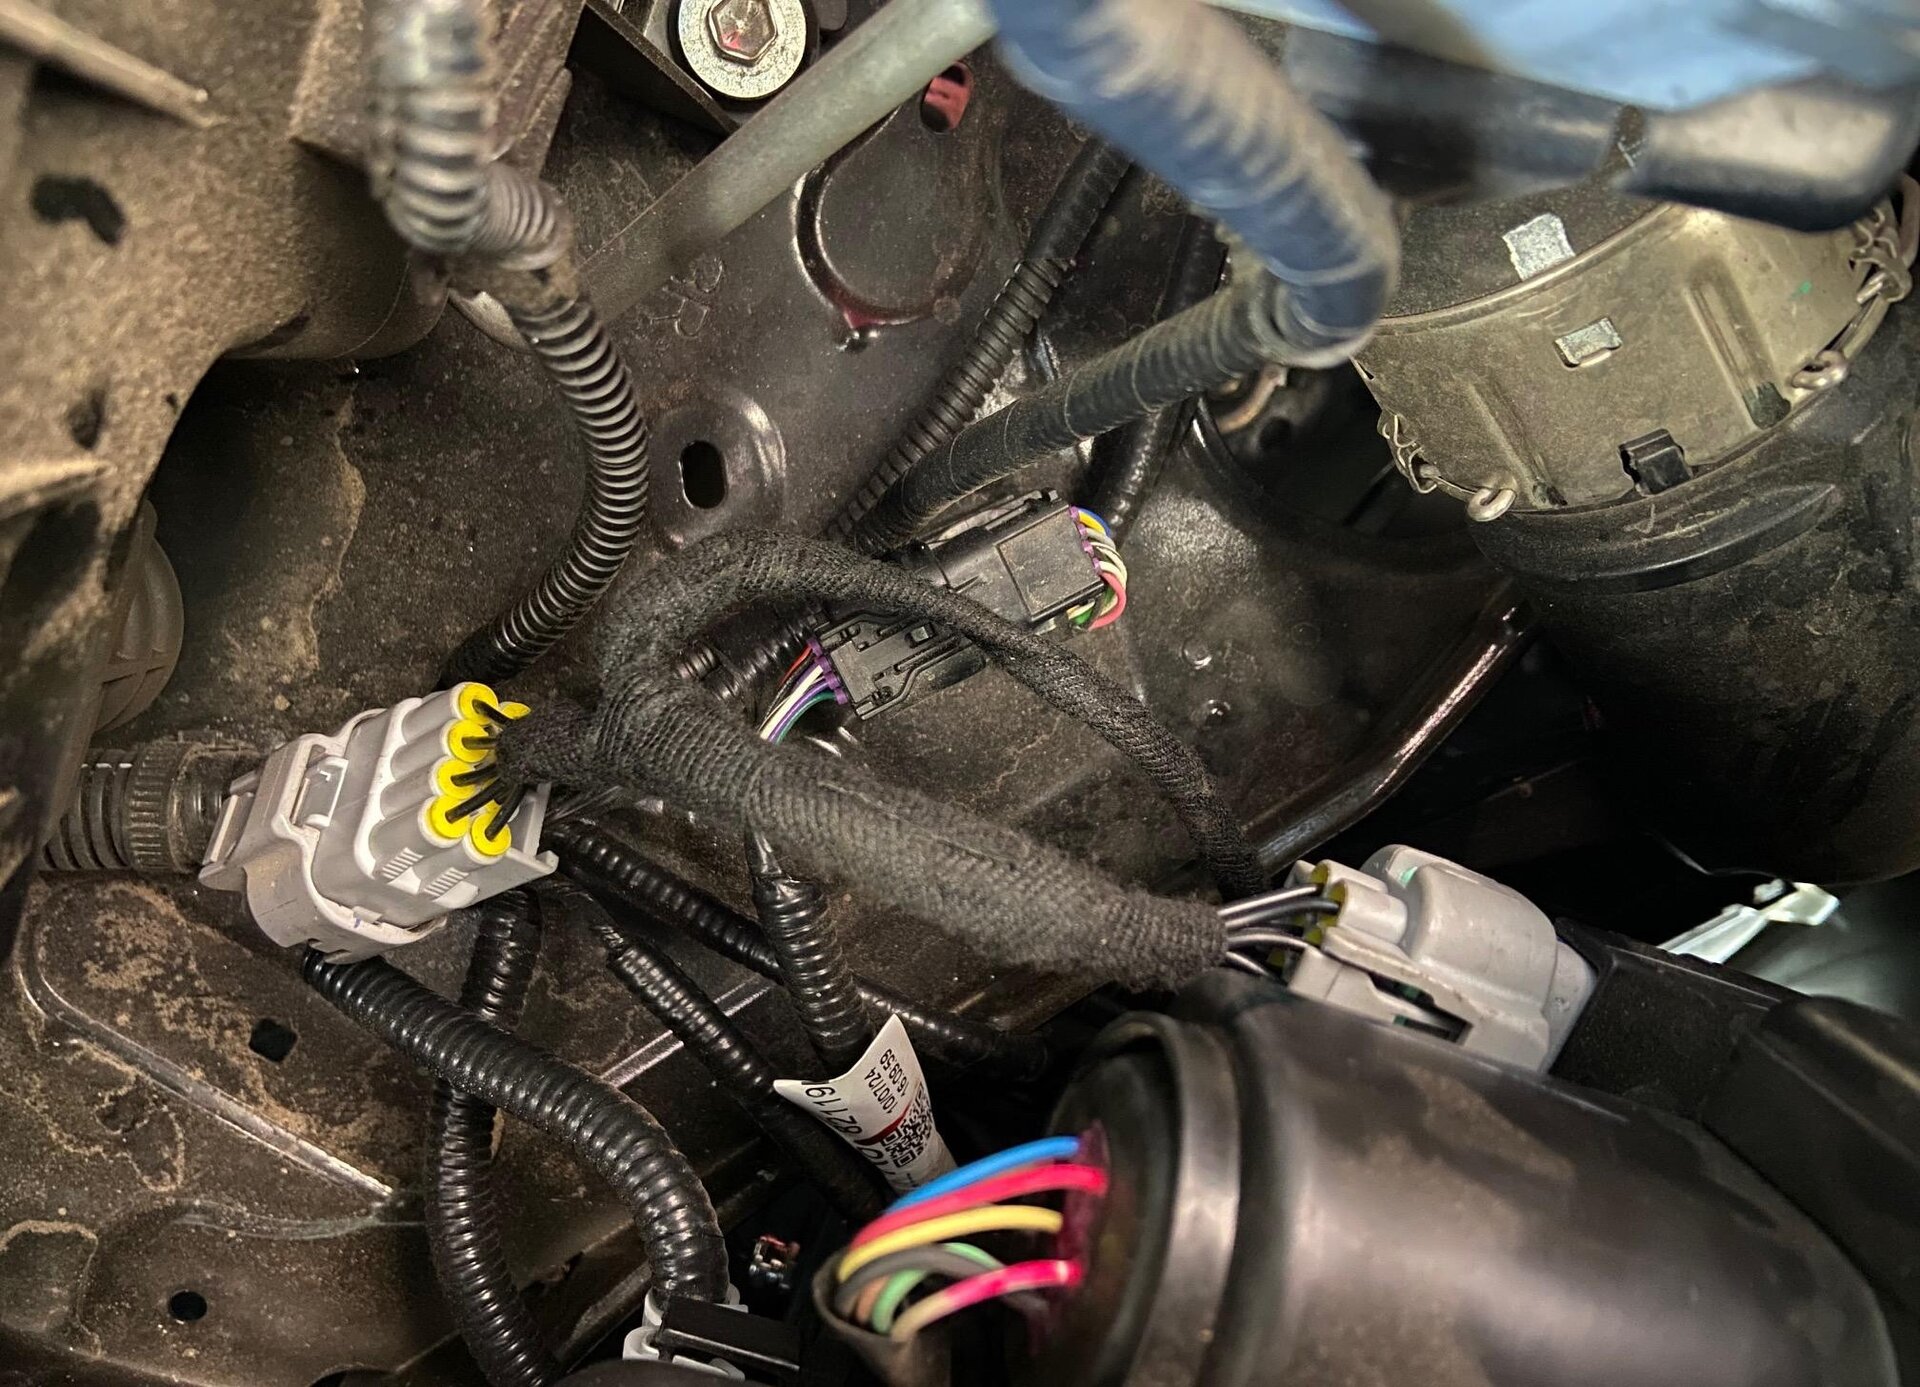
Installing the Aozoom FLP 2040 Bi-LED Projectors
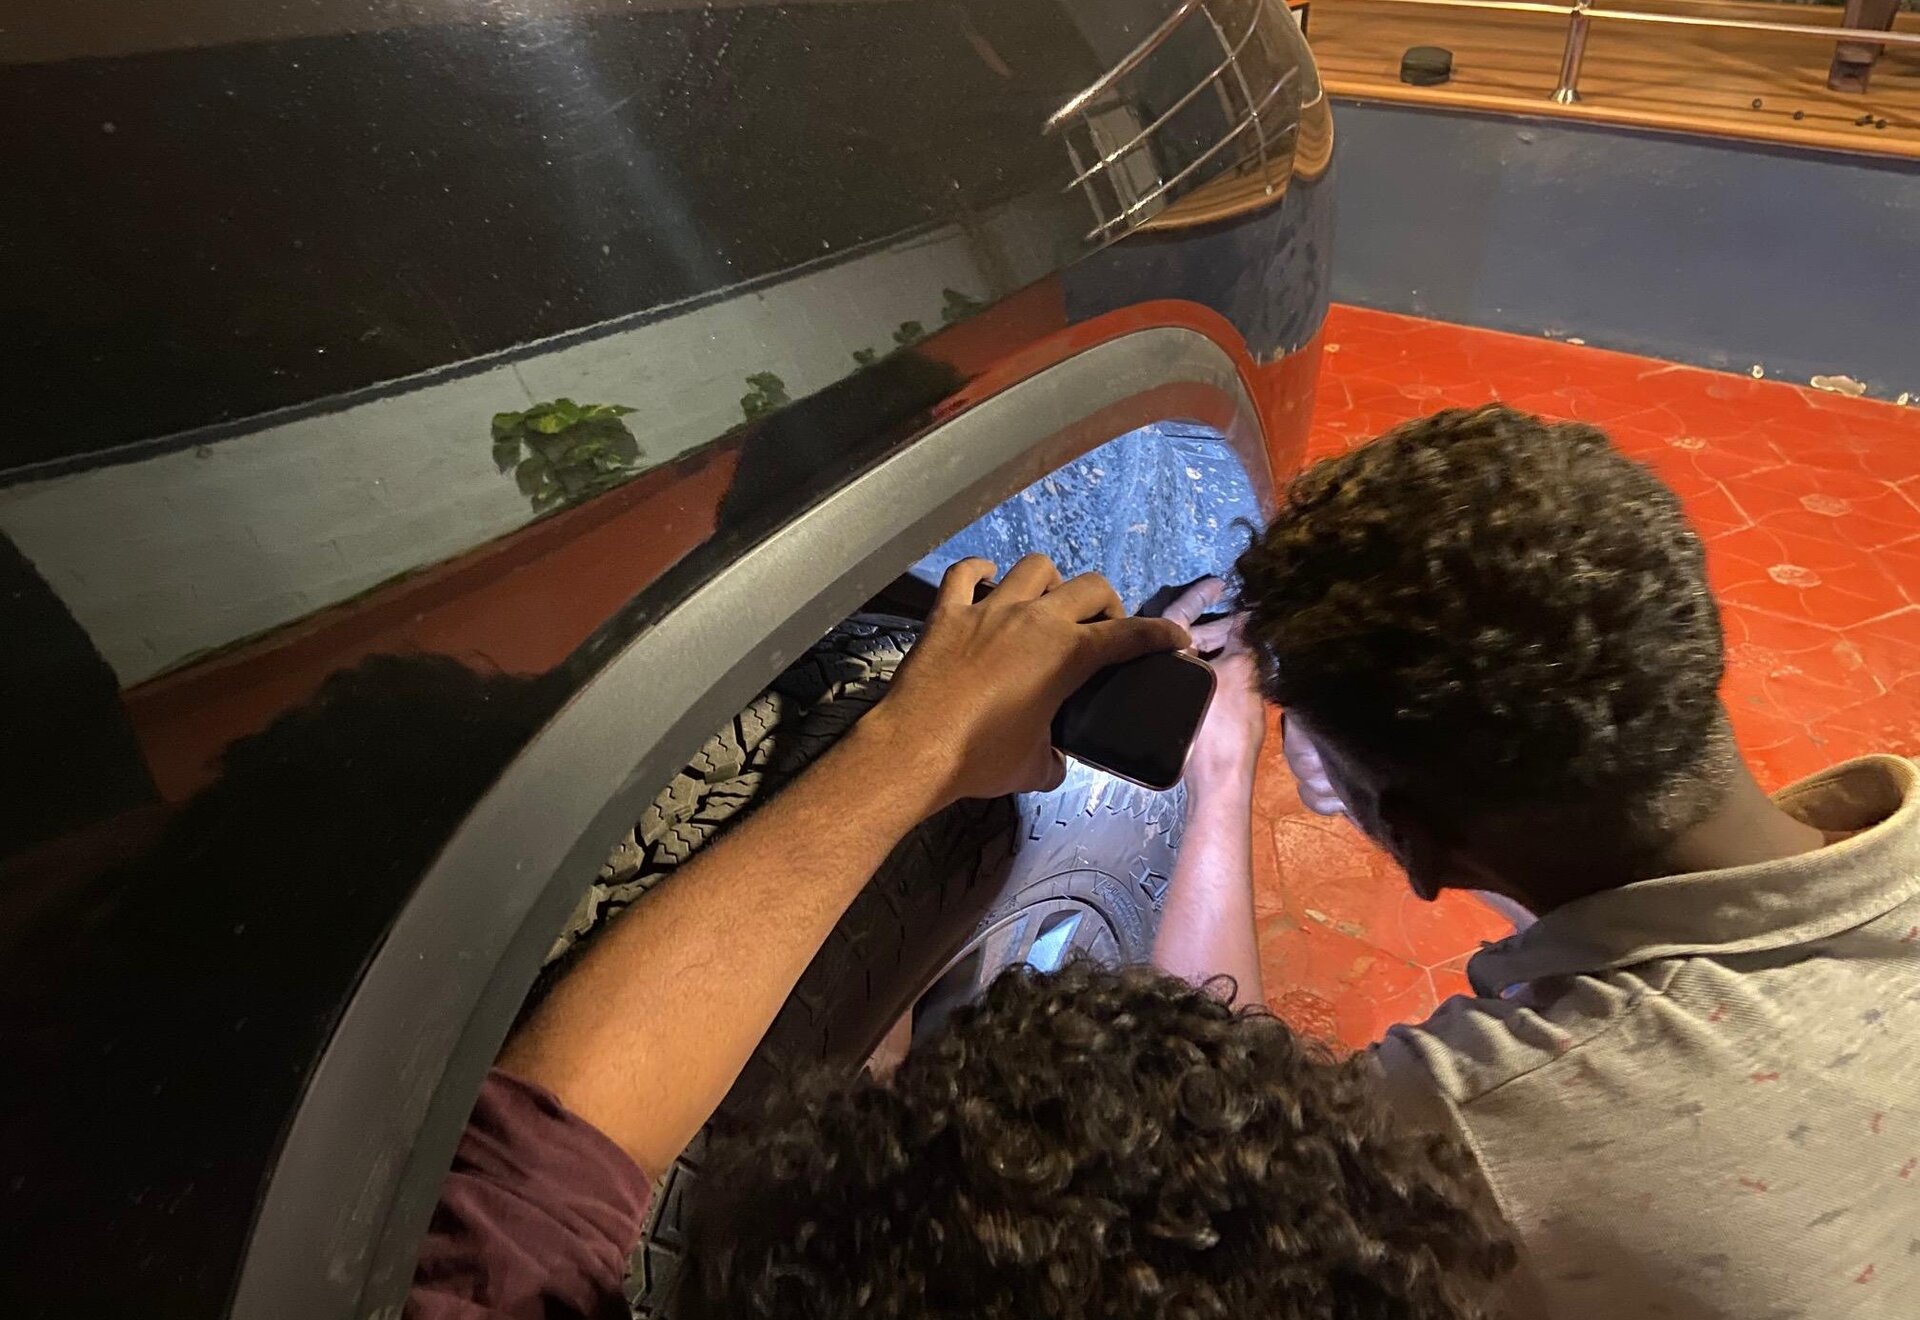
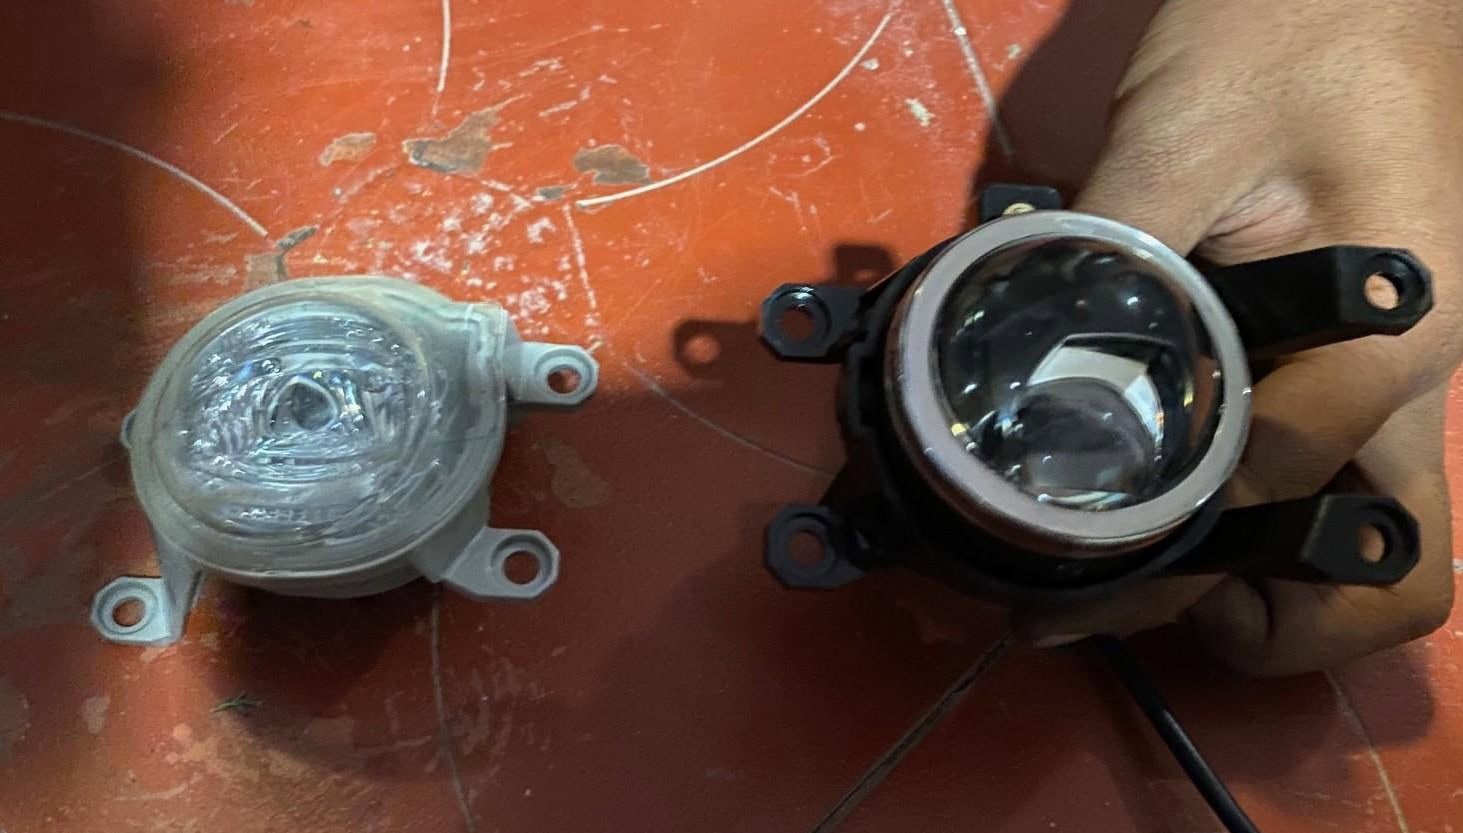
Installation was straightforward. The installer brought the projectors to my place and carried out the installation. As the installation was done late in the evening, I did not click many pictures of the installation process. The installer removed some screws from the trim that covered the wheel well and opened the bumper a little to create access to the fog lamp. He completed the installation and adjustments through this small opening. The projector come with a clamp that is a direct fit to the Fortuner’s fog light mounting points. The clamp also has spring loaded adjustment screws to adjust the level of the lights. The installer set the level of the beams the same as the existing fog lights.
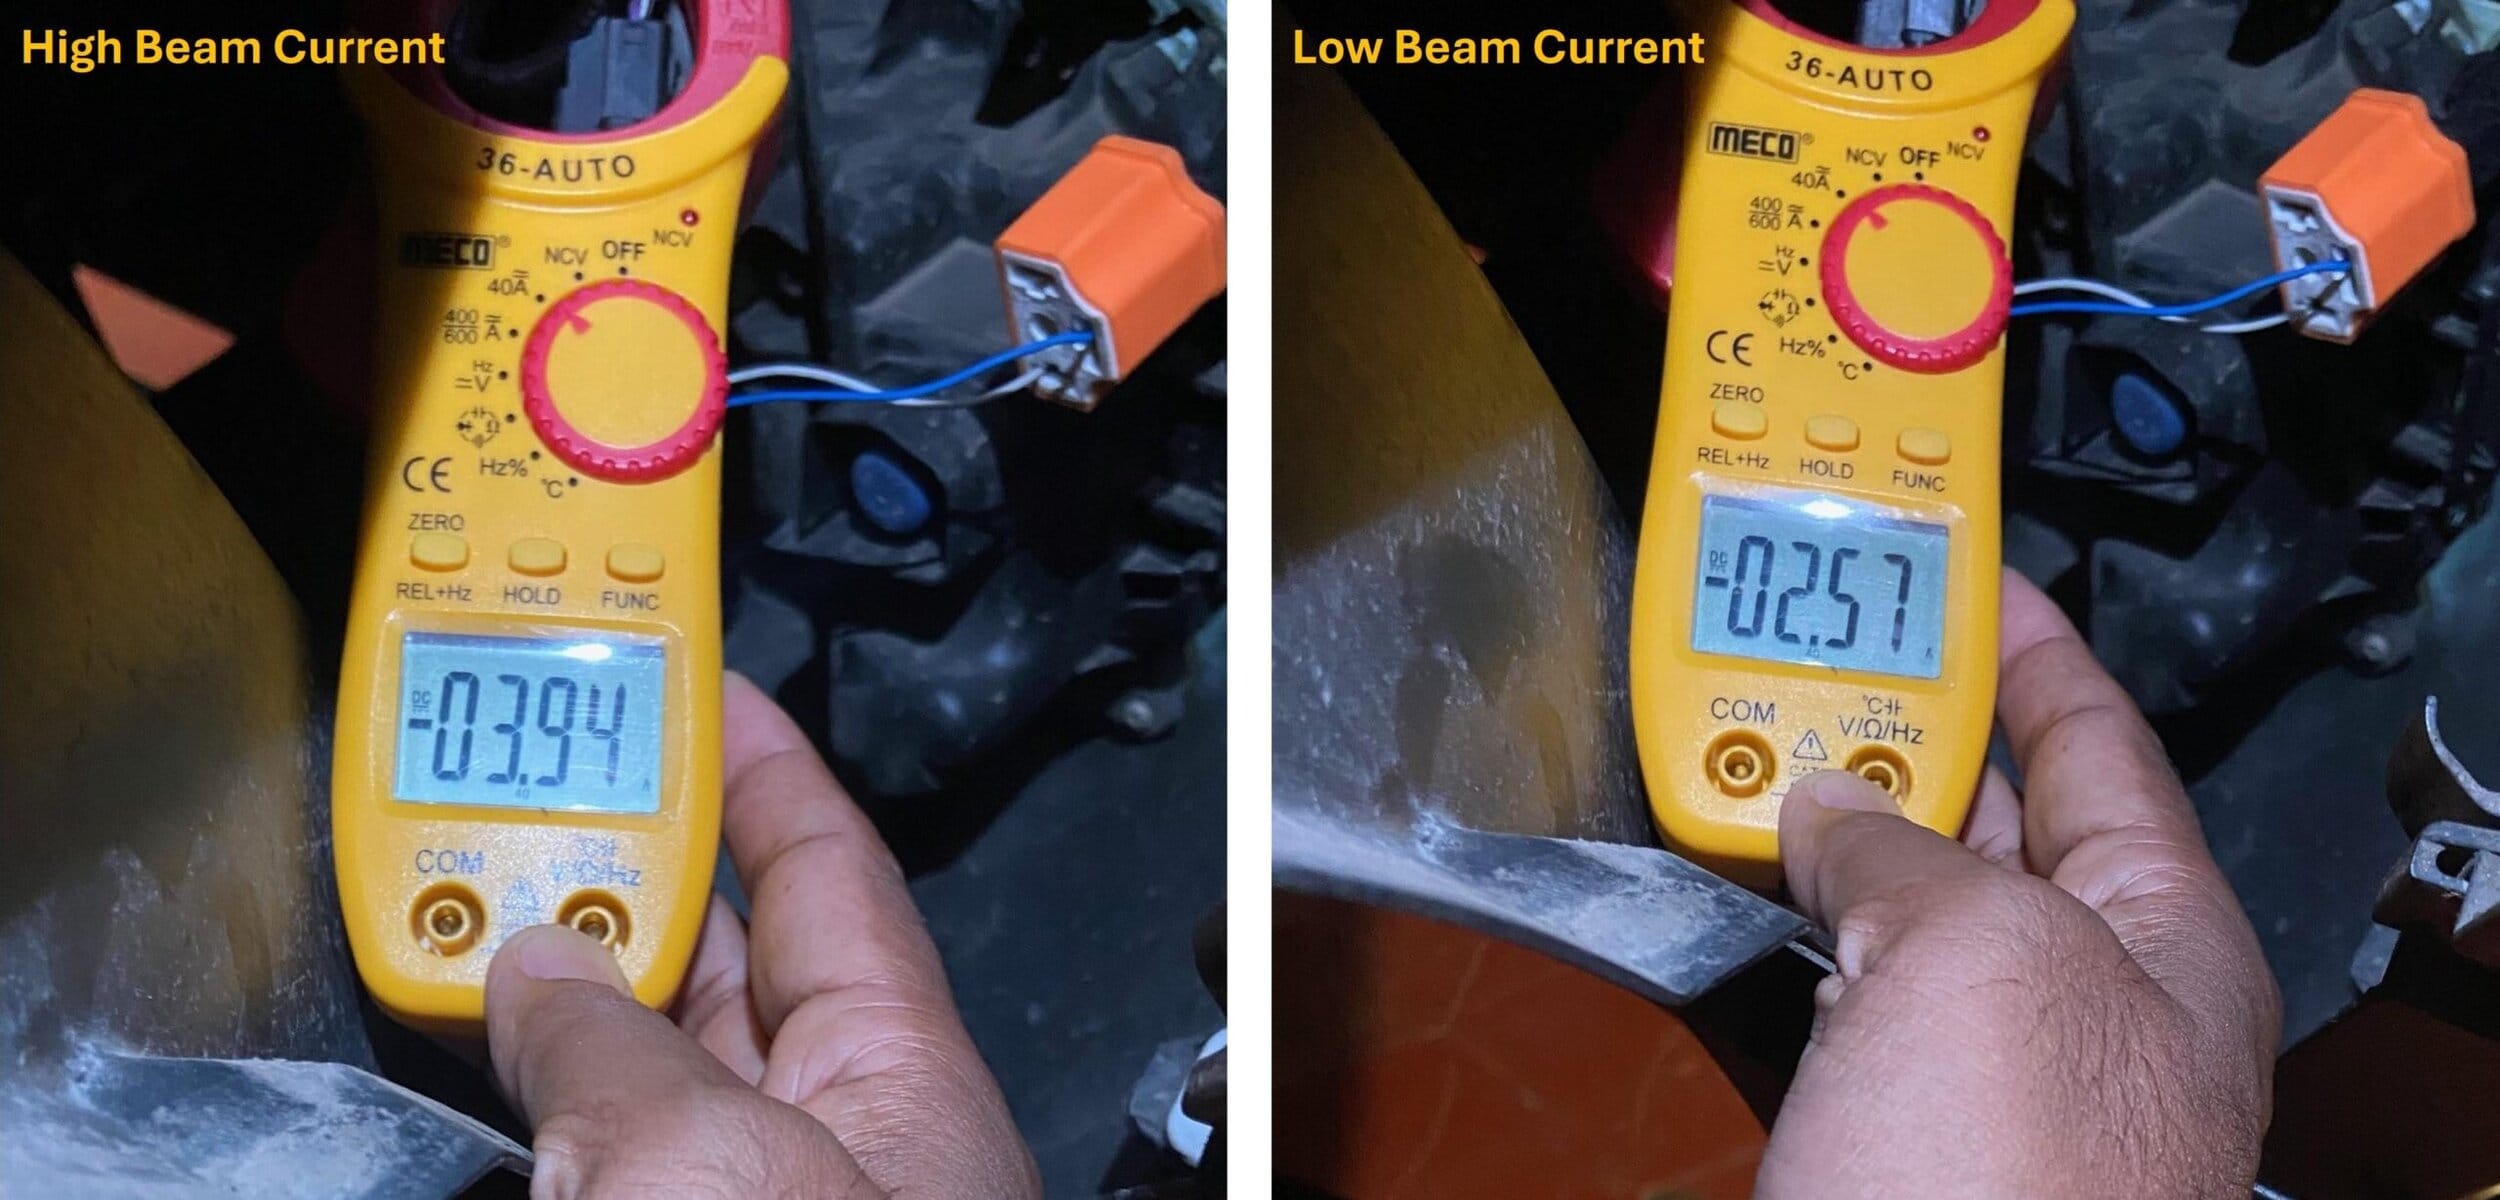
As the installer was opening up the front wheel well, I soldered the male H4 connector to the high beam cable of the projector. I also measured the low and high beam currents to make sure that the existing wiring can take the current. The total current with high beam was less than 4A, which should be easily handled by the existing wiring.
Below are several pictures that show the installation process.

Final Results and Comparison
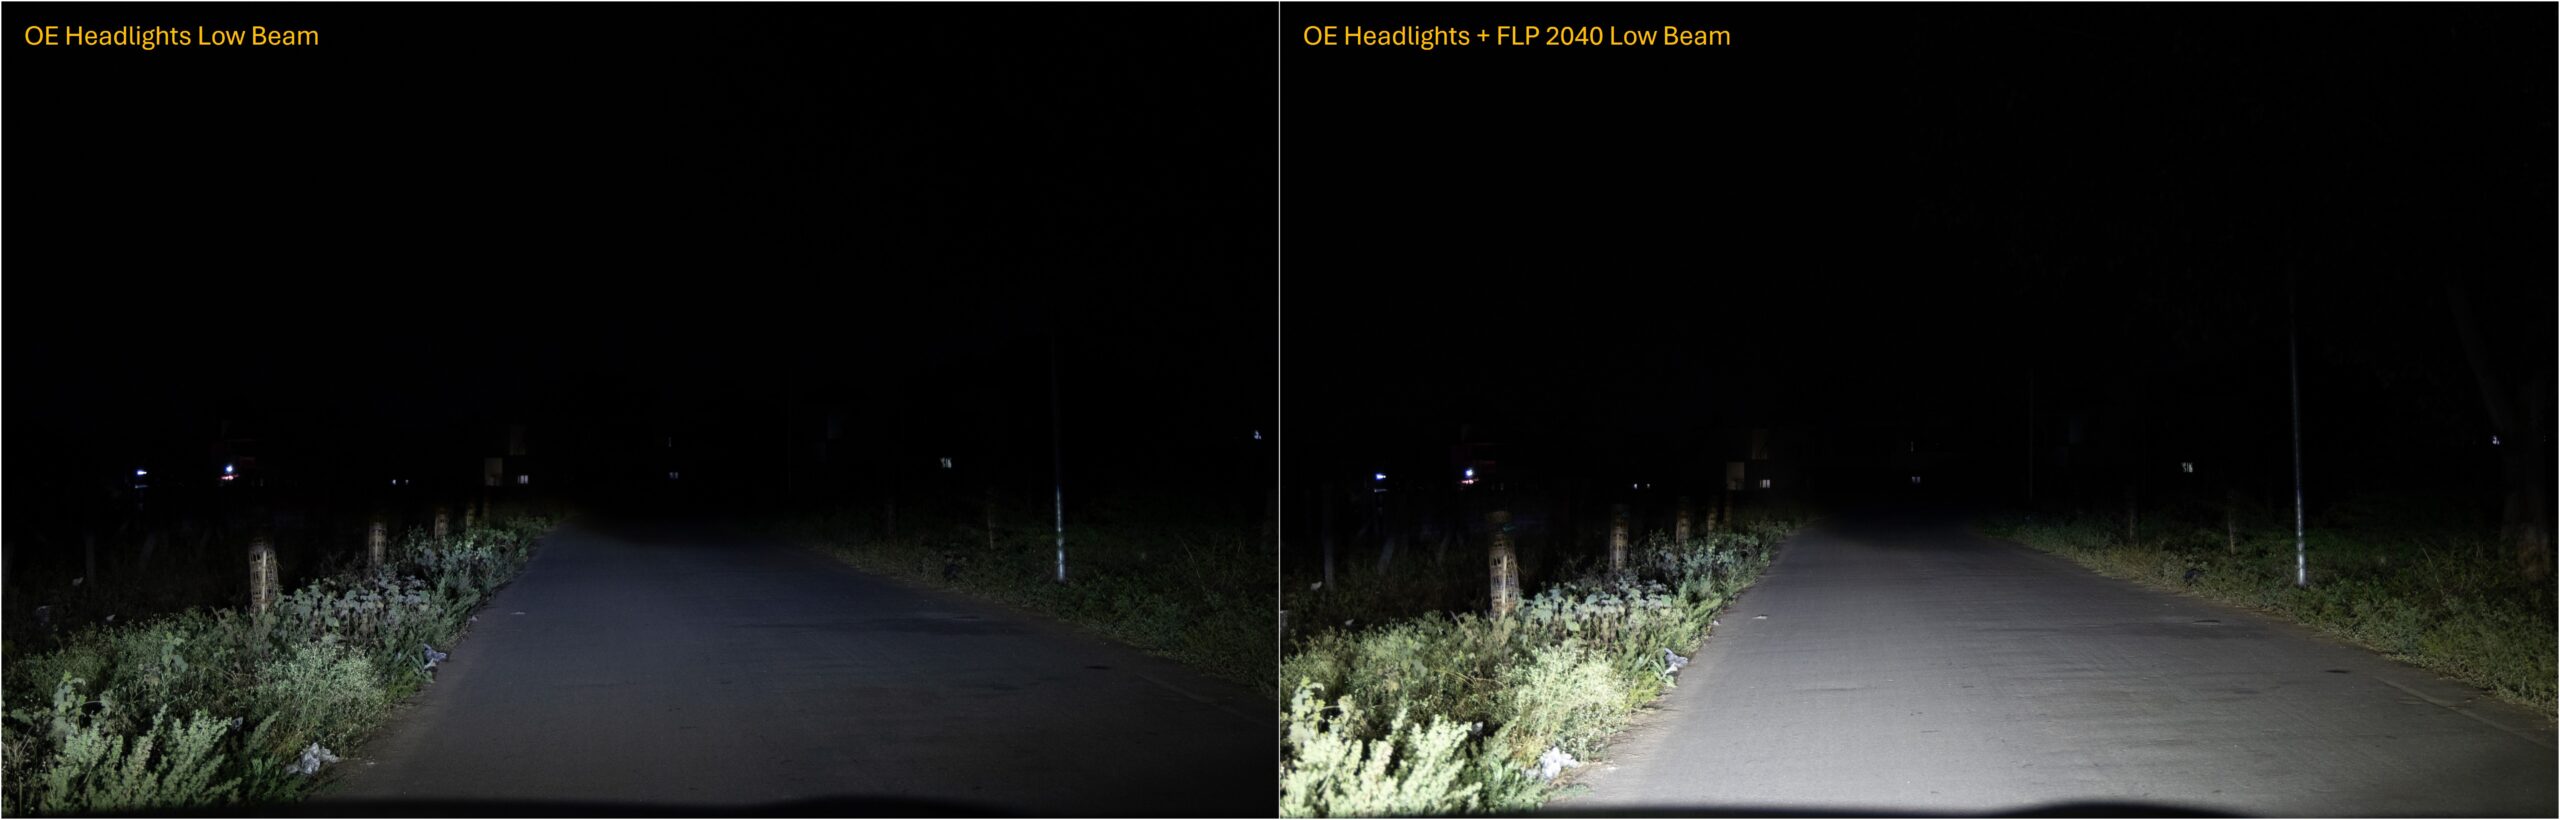
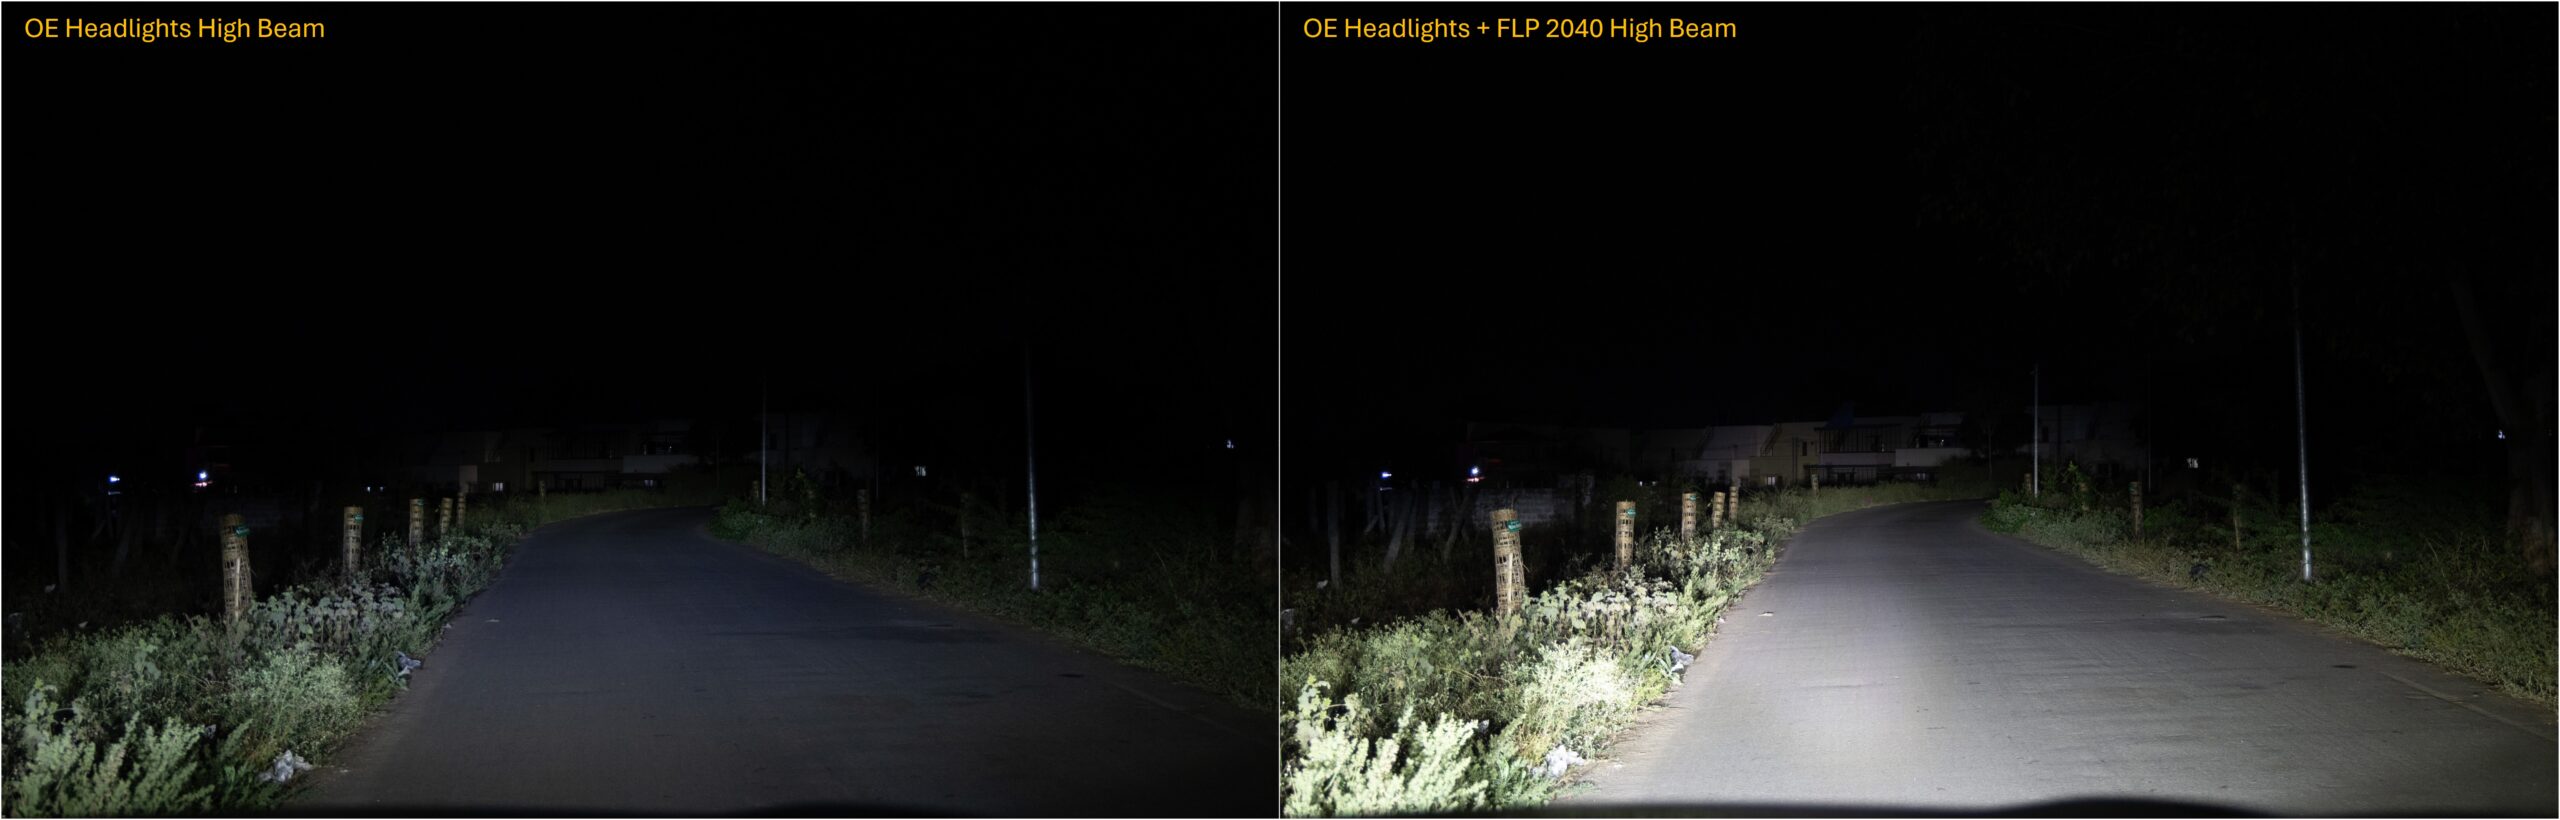
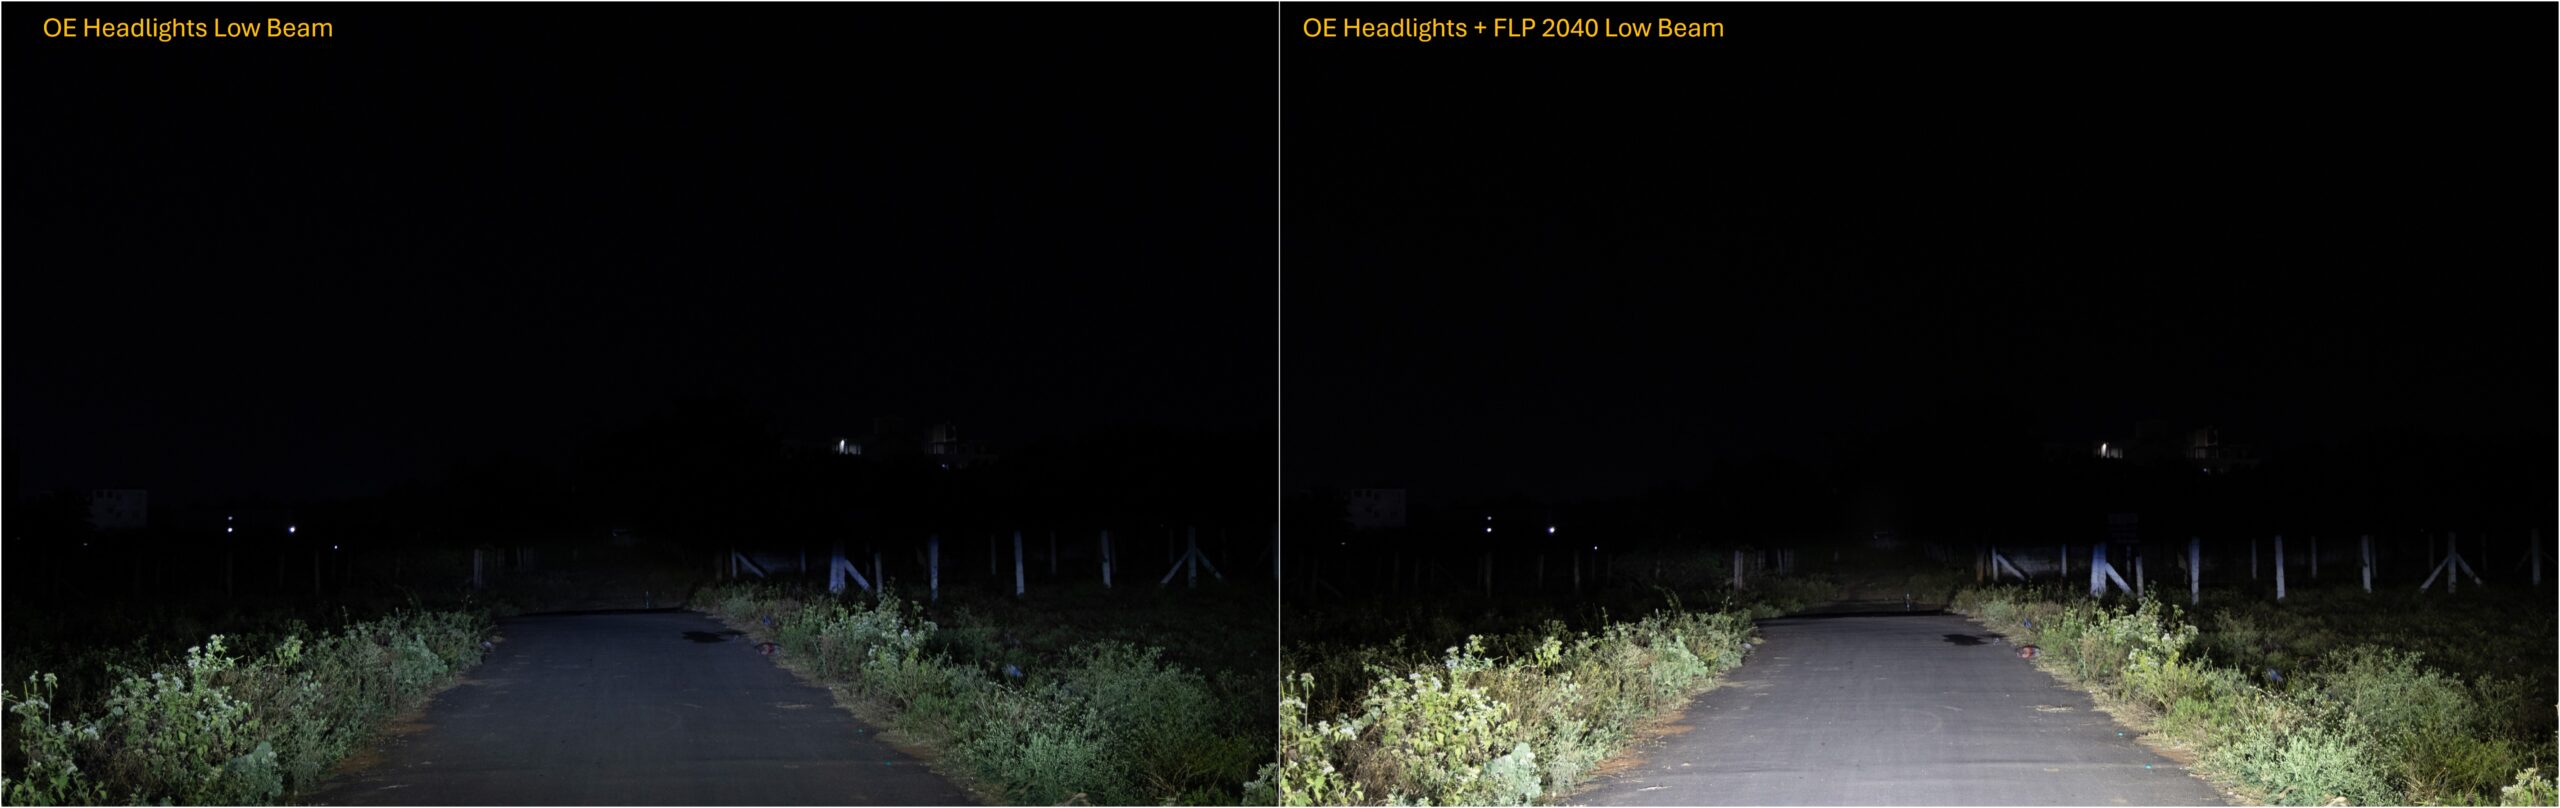
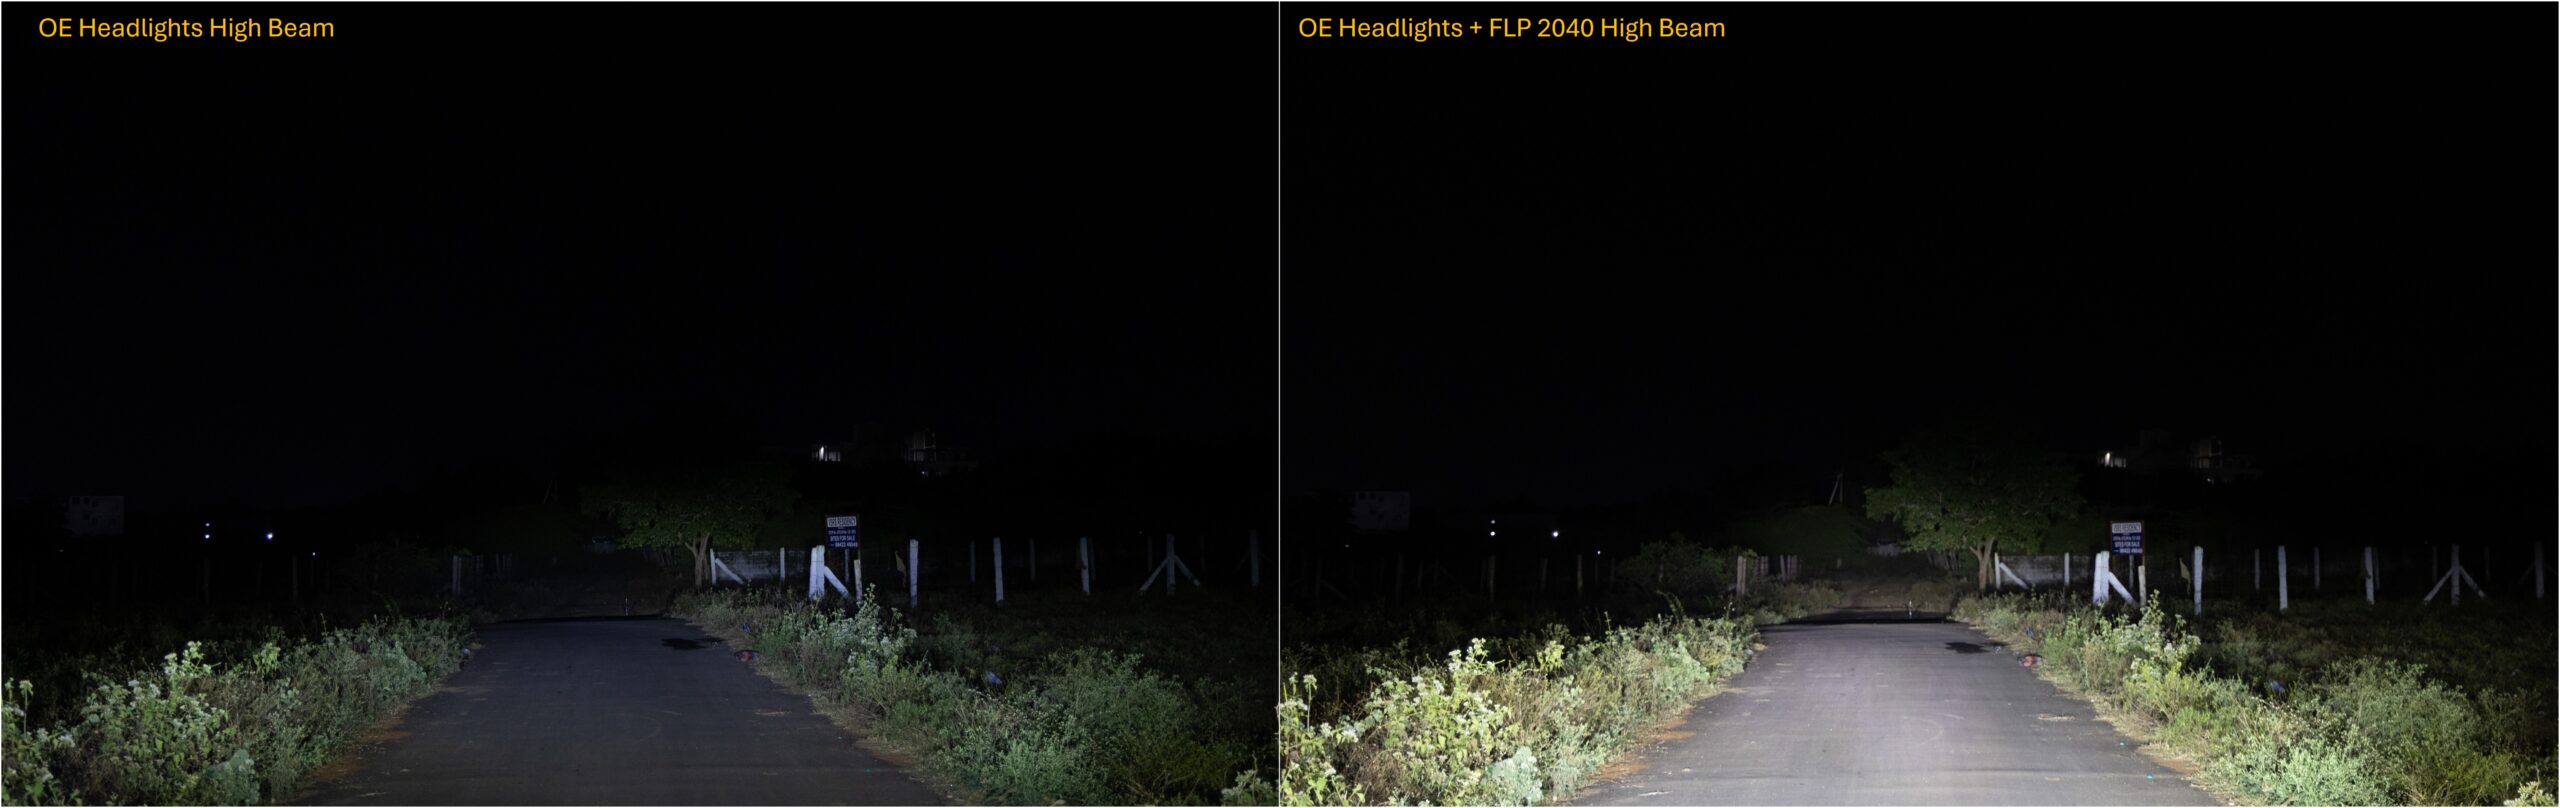
There is a day and night difference between the original headlights and the new projectors. The projectors have a very clean cutoff, which is below the cutoff of the headlight. This prevents the projectors from creating glare for oncoming traffic but lights up the road perfectly. I drove the car on 2 lane village roads, and even with bright headlights from oncoming traffic, I was now able to clearly see the road in front. The high beam is very well-focused and lights up farther distances.
I took several pictures to compare the original headlights and the combination of the headlights and the projectors. I used a DSLR in manual exposure mode so that the difference is accurately reproduced. Click on the pictures to open in full size for more details.
I made a short video to show the performance of the projectors. The first part is the comparison shot with a DSLR with manual exposure, so the difference is accurate. The second part is from my dashcam during the drive through village roads.
Conclusion
I have driven with these projectors for 6 months now, and find them adequate for stress free night driving. The brightness and reach of the headlights are comparable to the adaptive headlights of the BMW 3GT that I had earlier.
Discover more from graaja.blog
Subscribe to get the latest posts sent to your email.
Hi Sir,
I am Dr. Anto Joseph, working with RCSS here in Kerala.
I would like to install the Tough Dog Suspension in my 4*4 Fortuner (2022 model).
I have a few doubts….. Could you please provide your number….. or kindly call me 9542359842….